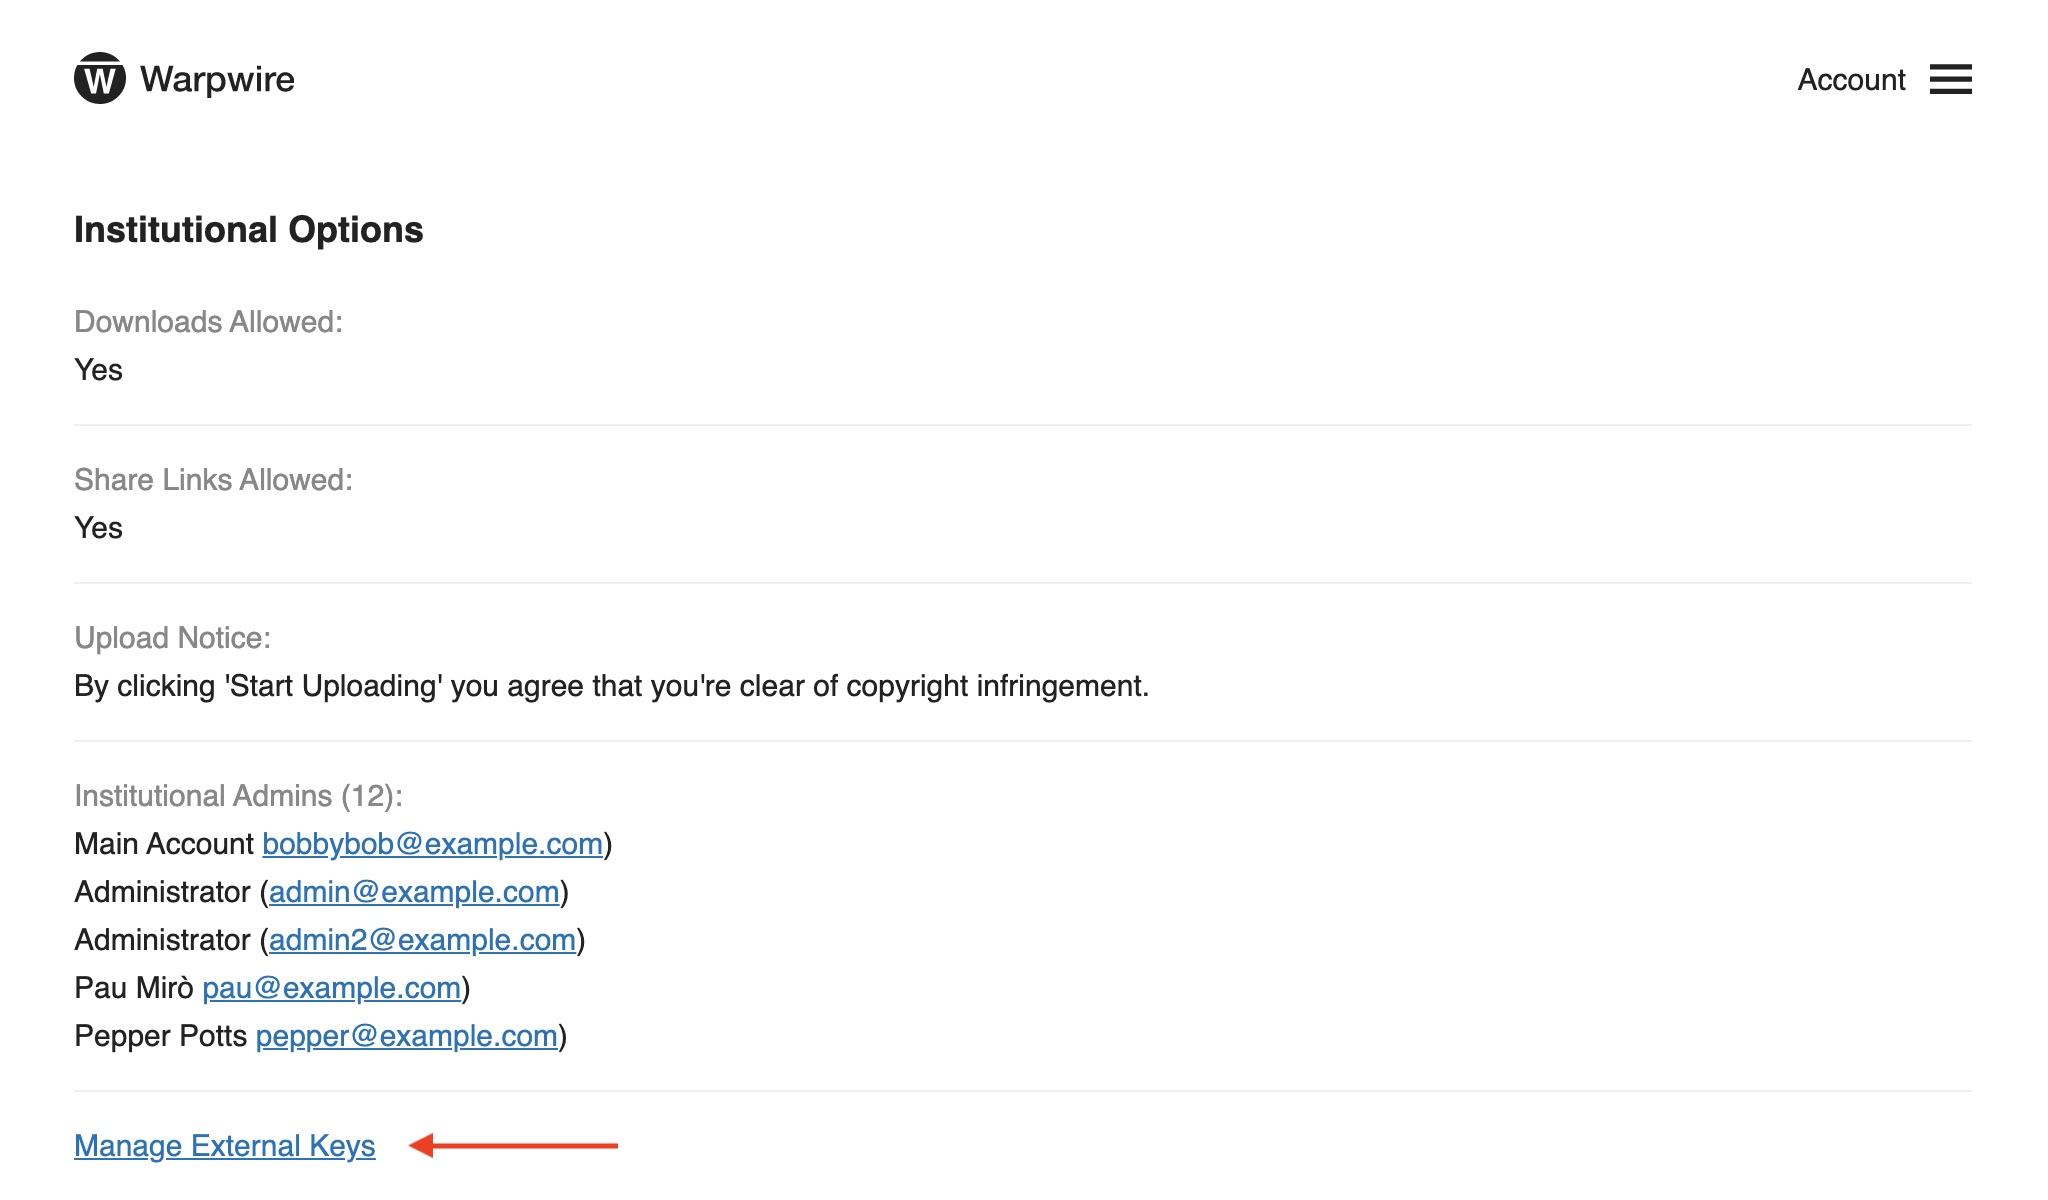
Warpwire Institutional Administrators can manage external keys directly from within the Admin Tool. To view, edit, and add new keys, navigate to Institutional Options in the Admin Tool menu. Scroll to the bottom of the page and click the "Manage External Keys" link.
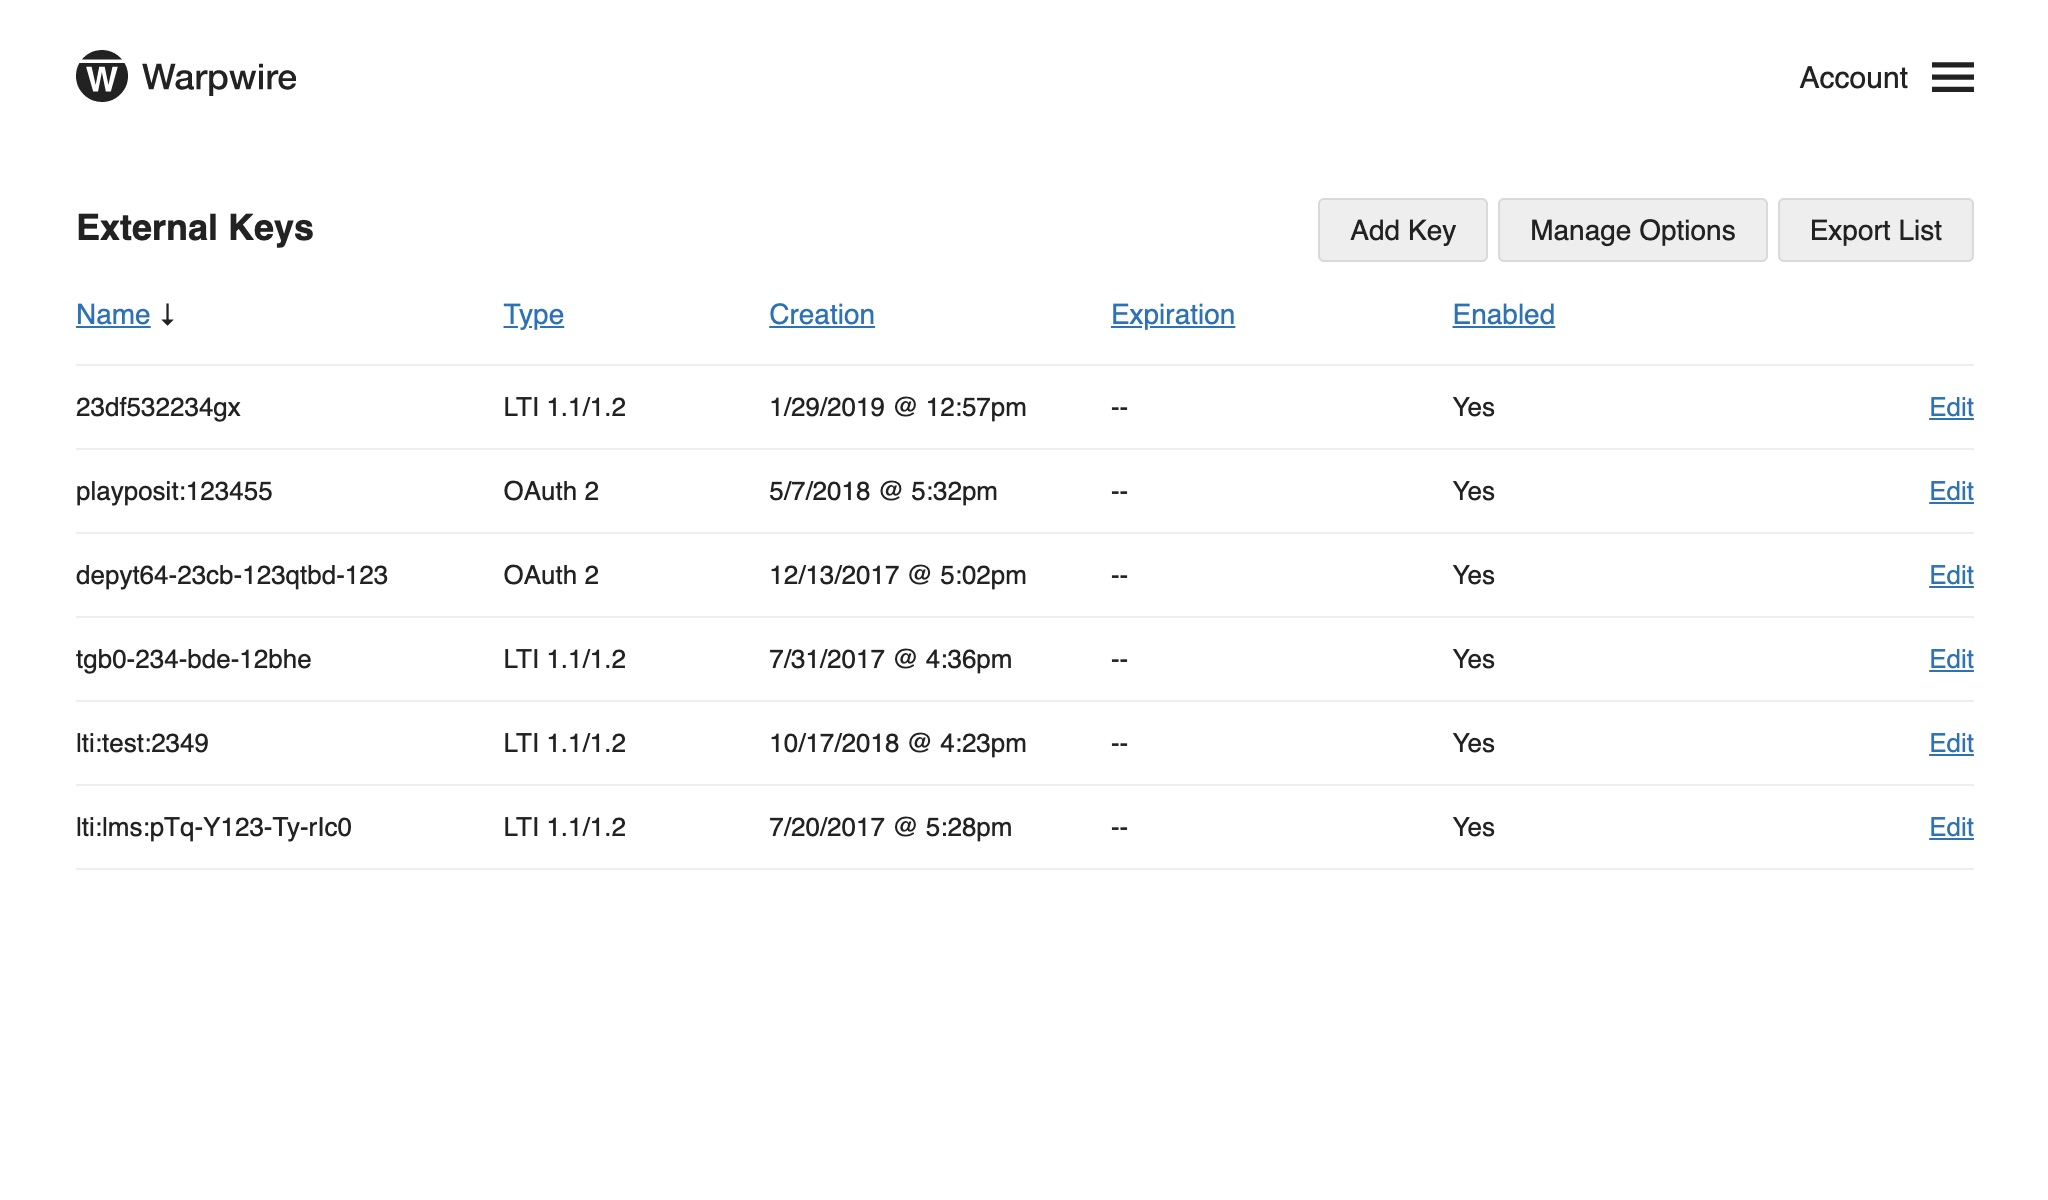
From the External Keys page, Institutional Admins can view all current external keys. Admins can use the "Export List" button to export their keys as a CSV file for review. To return to the Institutional Options page, click the "Manage Options" button.
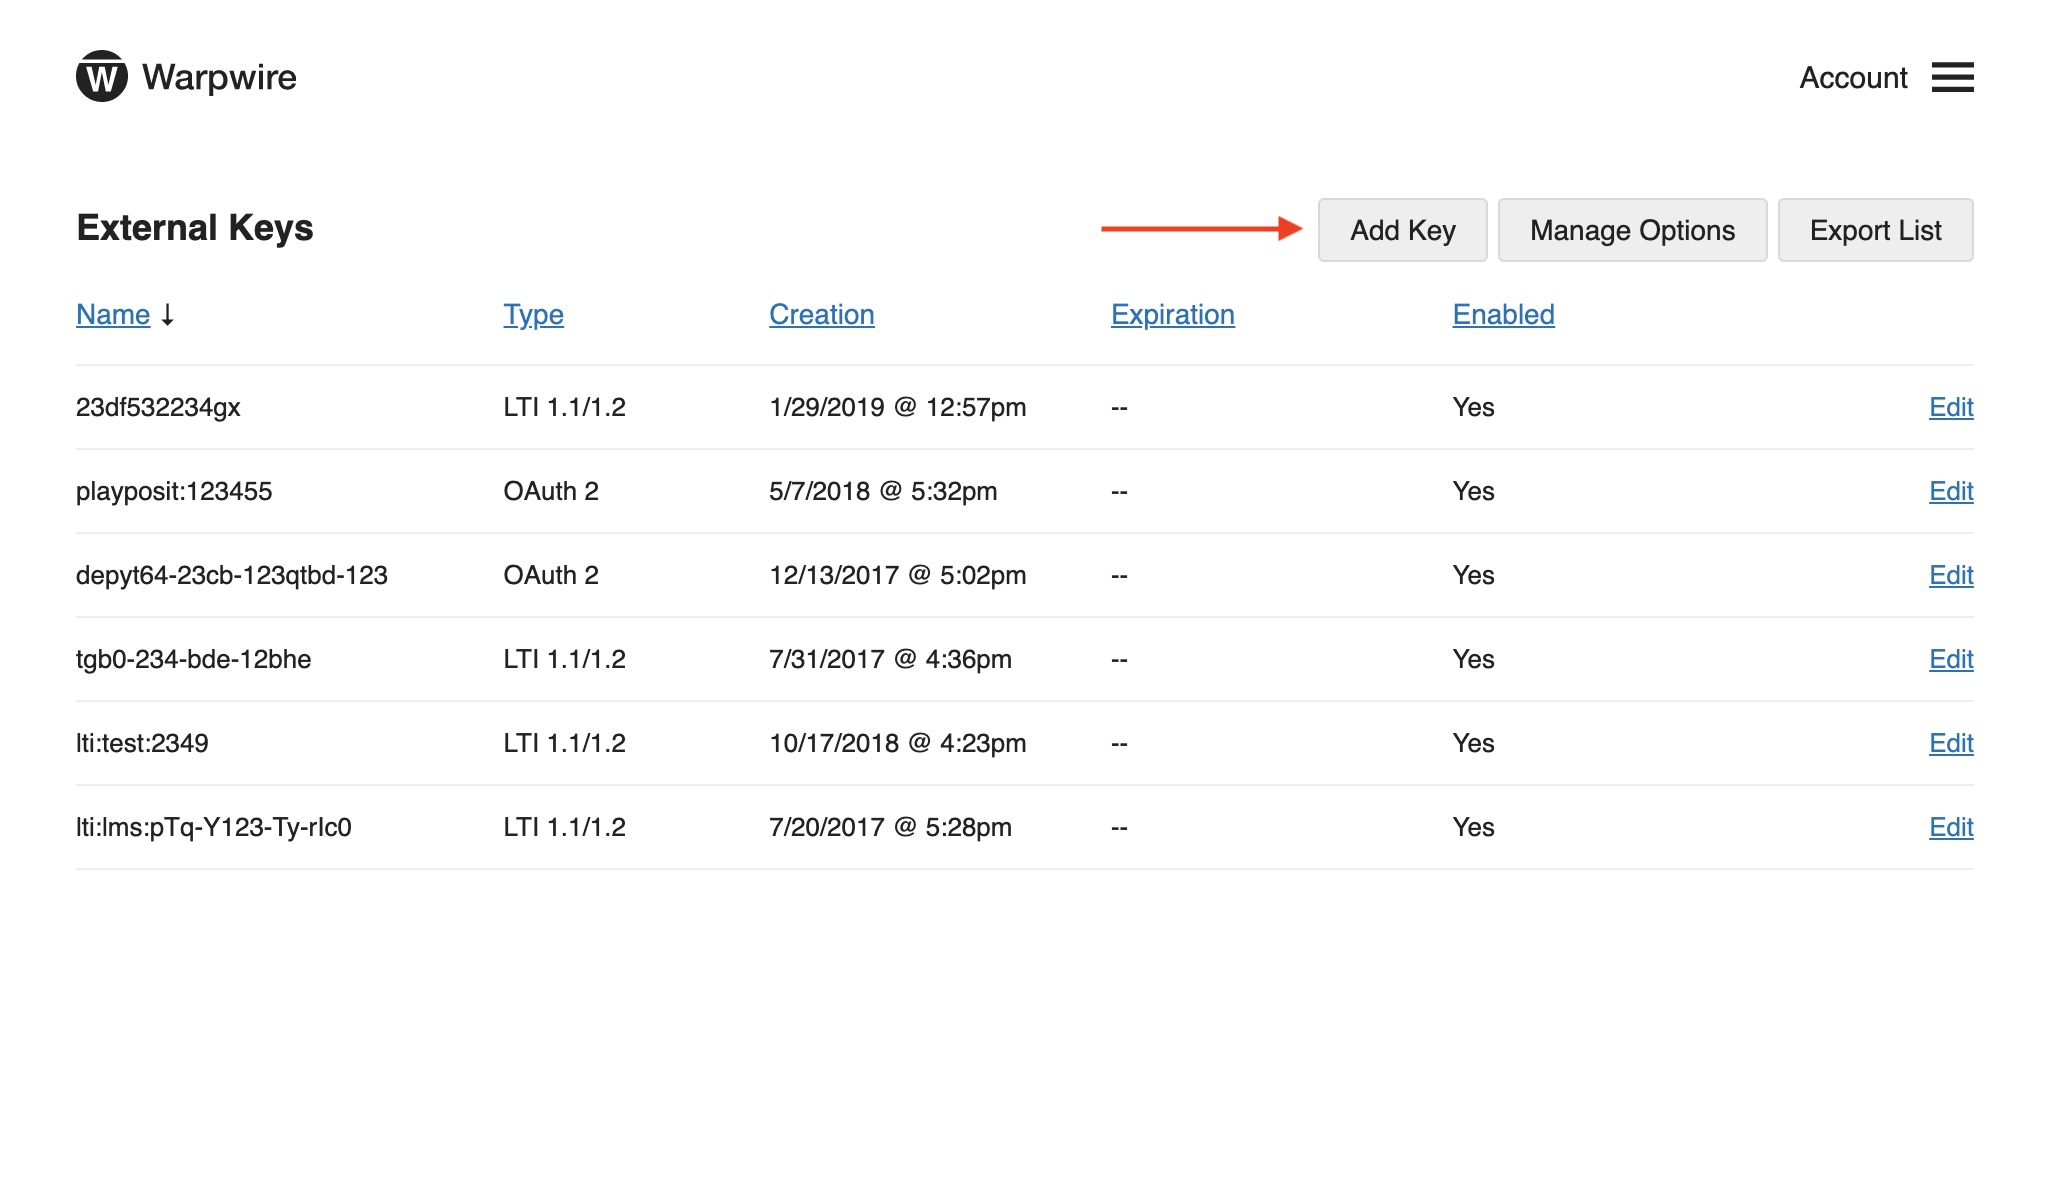
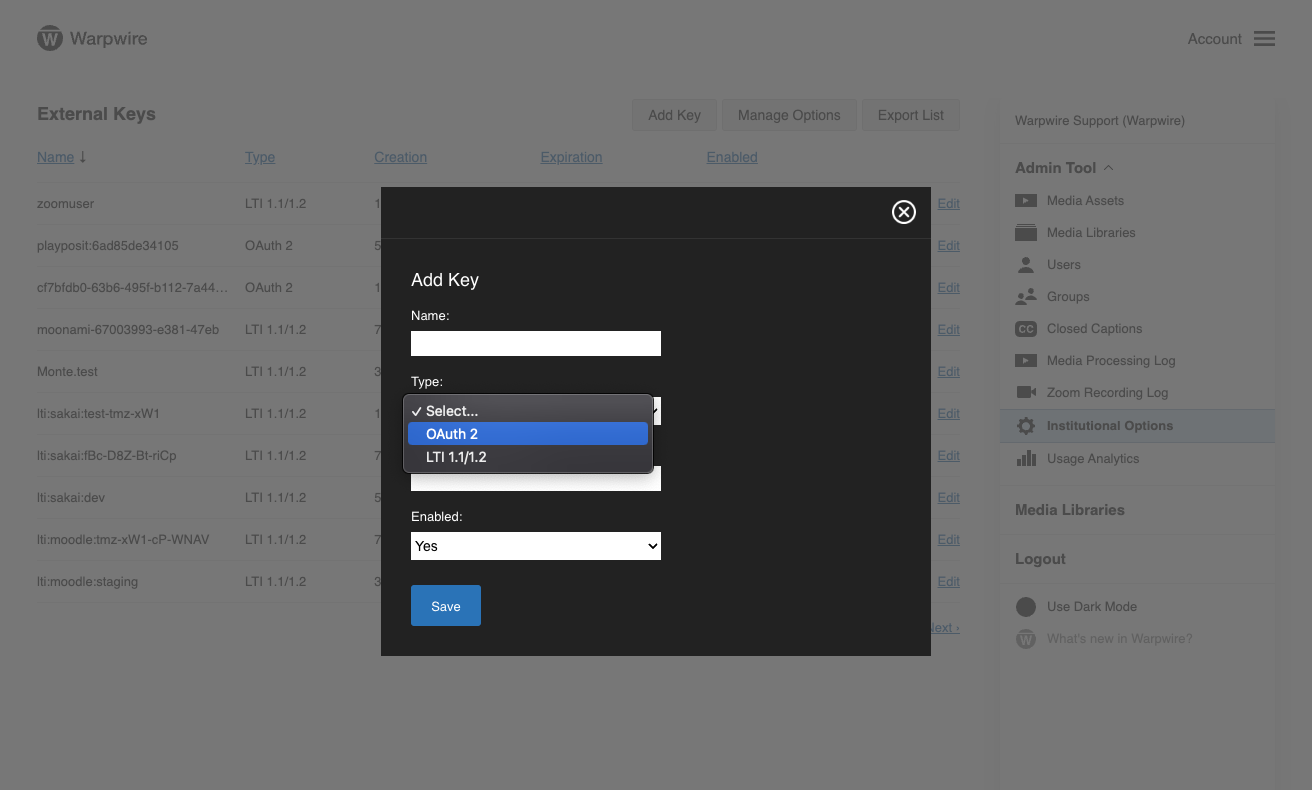
To add a key, click the "Add Key" button. From this window, Admins can add OAuth 2 and LTI keys.
Adding an OAuth 2 key will allow users to connect their Warpwire account to a third party service not provided by Warpwire. To begin adding the OAuth 2 key, select "OAuth 2" from the select menu under Type.
After selecting "OAuth 2" from the select menu, you will be prompted to fill in additional fields.
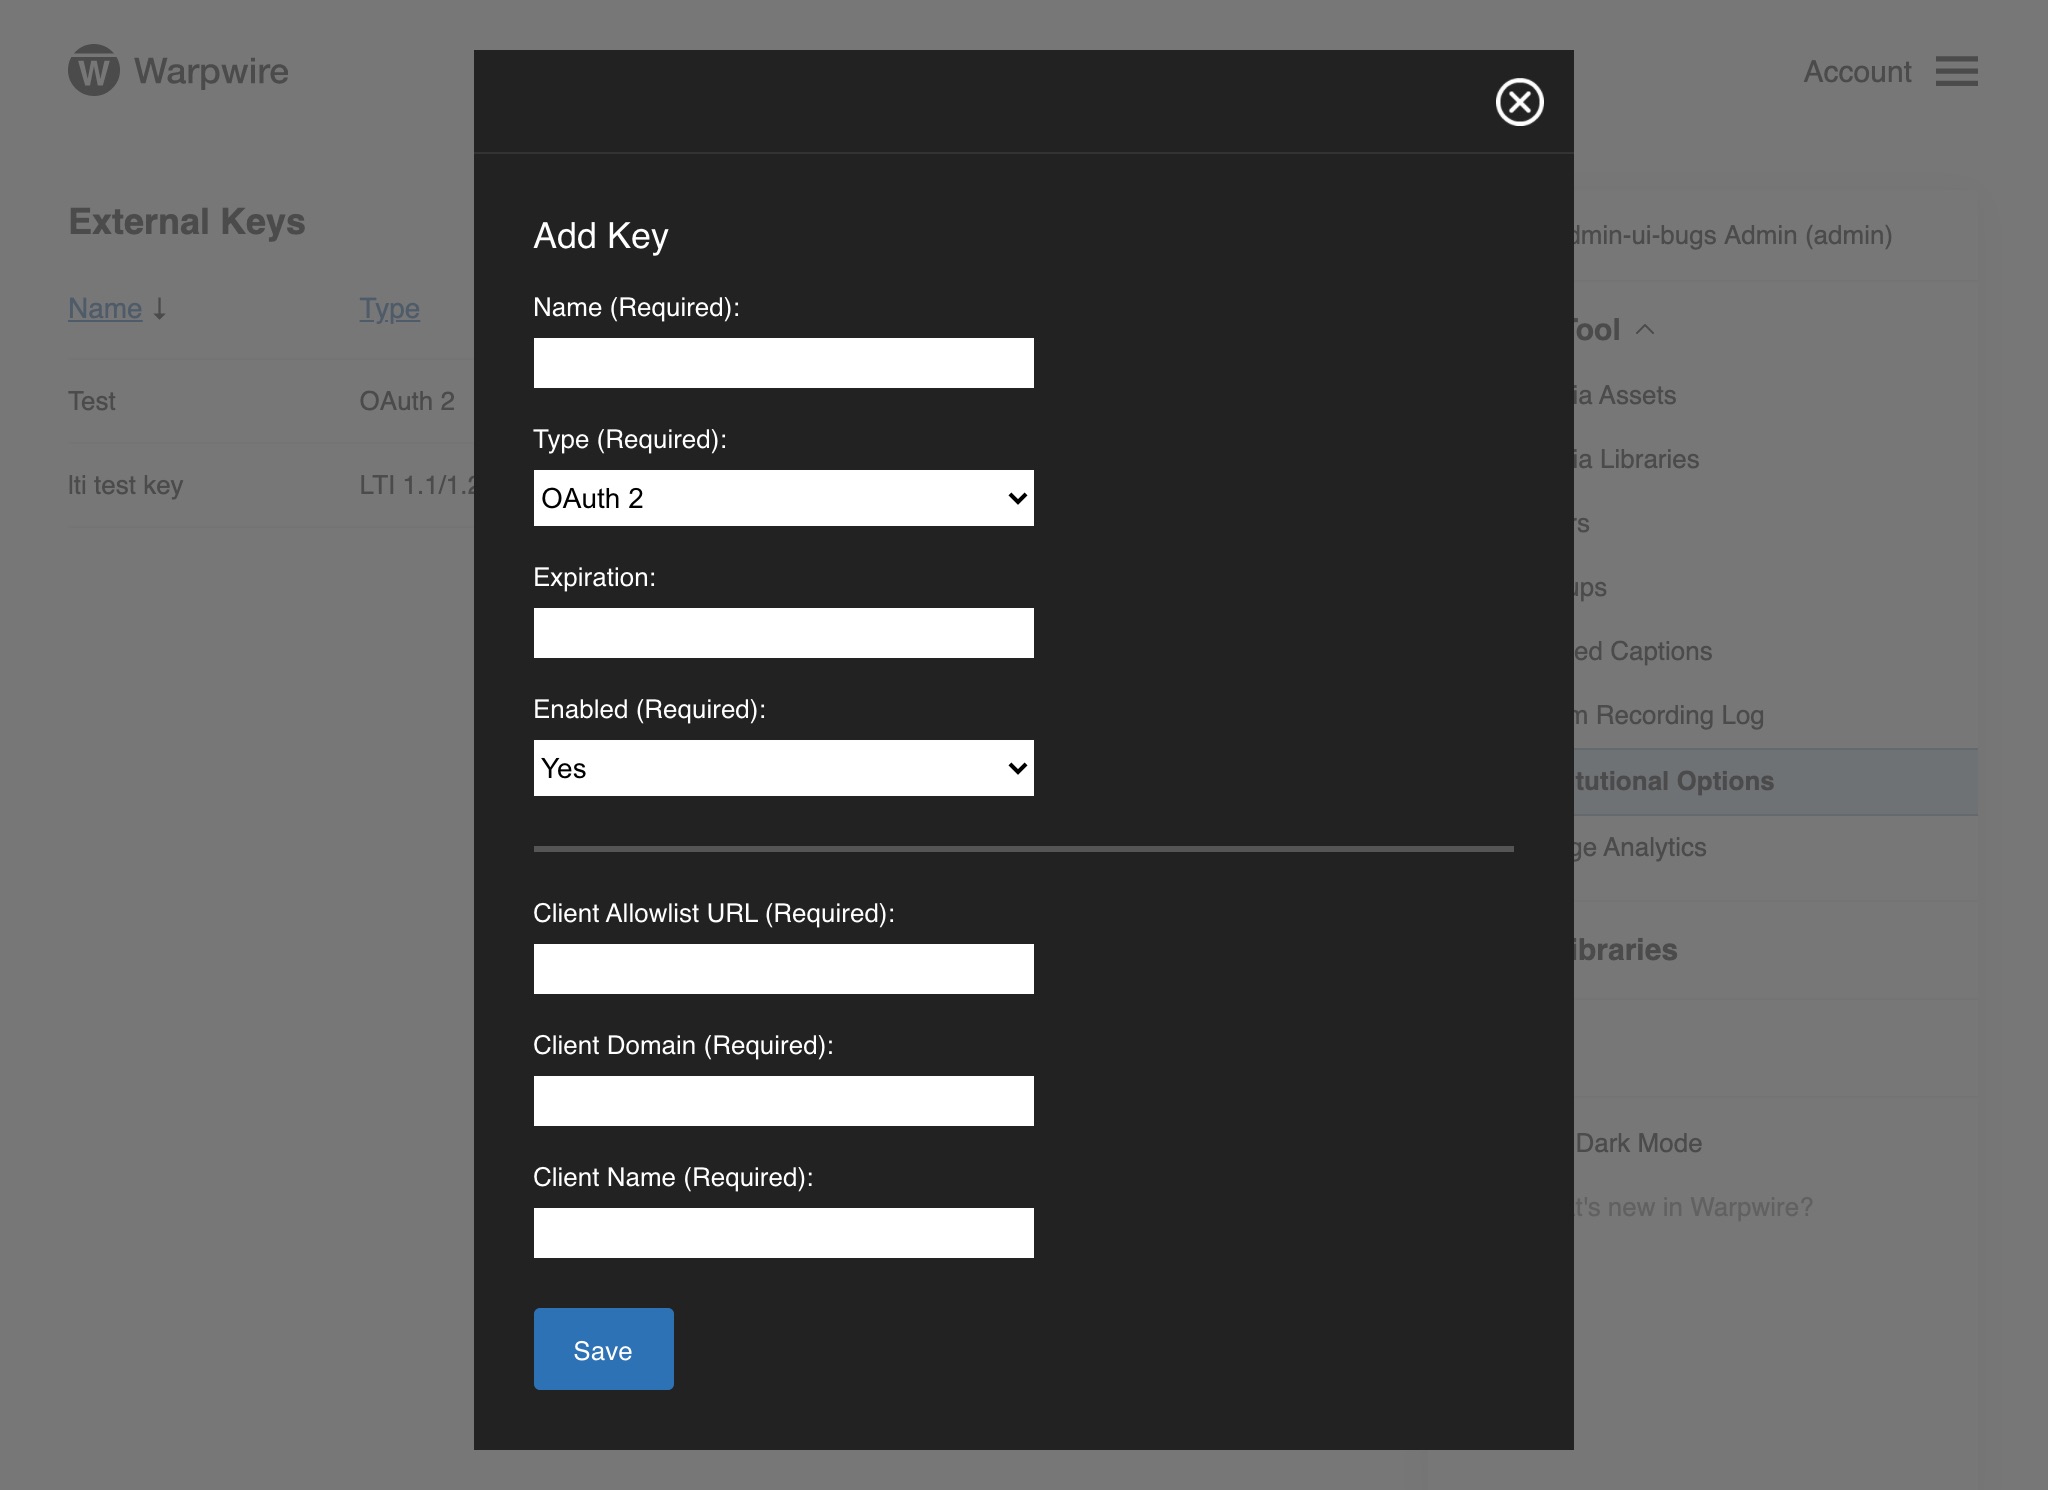
Follow the instructions below to successfully add the OAuth 2 key.
| Field | Description |
|---|---|
| Name (Required): | Enter the name of the client key. Note: Make sure that it is easily distinguished to who it was provided to. Make sure that the Name field is unique. |
| Type (Required): | Select OAuth 2 from the select menu. |
| Expiration (Optional): | Date must follow an 8 digit format. Example: YY/MM/DD. Use this field to provide a temporary key. After the date provided, the key will no longer be active. |
| Enabled (Required): | Select Yes to enable the key. Select No to disable key. |
| Client Allowlist URL (Required): | The authorized URL where the data will be sent to and can be accessed by the third party. Additional allowlist endpoints can be added via the Data API. |
| Client Domain (Required): | The client's web domain. | Client Name (Required): | The client's human friendly name when providing authorization to your users. |
Click the blue "Save" button when you are ready to add your new OAuth 2 key.
Adding an LTI Key will allow Warpwire to integration with your Learning Management System, or LMS. To begin adding the LTI key, select "LTI 1.1/1.2" from the select menu under Type.
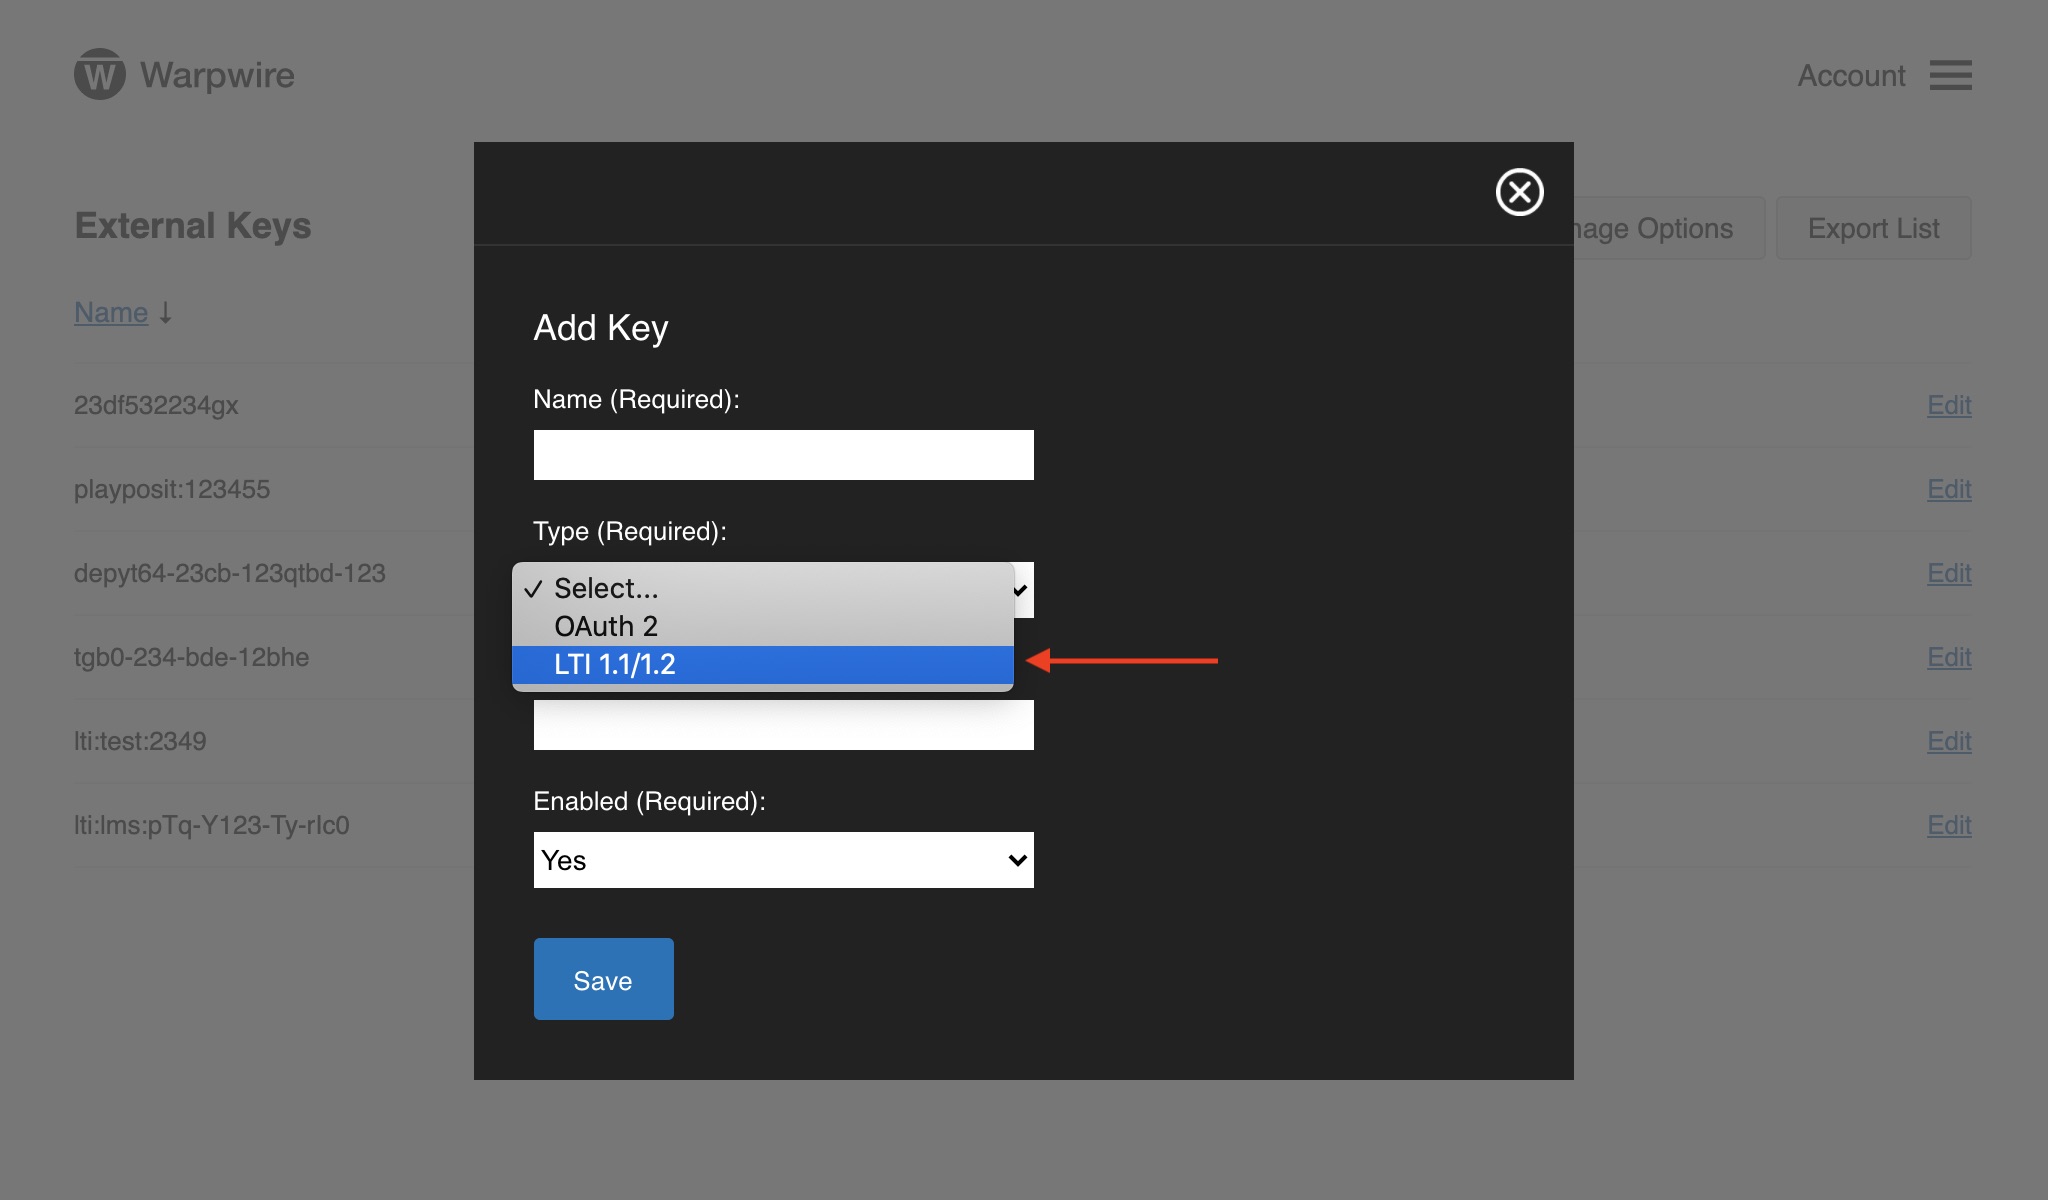
After selecting "LTI 1.1/1.2" from the select menu, you will be prompted to fill in additional fields.
Follow the instructions below to successfully add the LTI key.
| Field | Description |
|---|---|
| Name (Required): | Enter the name of the client key. Note: Make sure that it is easily distinguished to who it was provided to. Make sure that the Name is unique. |
| Type (Required): | Select LTI from the select menu. |
| Expiration (Optional): | Date must follow an 8 digit format. Example: YY/MM/DD. Use this field to provide a temporary key. After the date provided, the key will no longer be active. |
| Enabled (Required): | Select Yes to enable the key. Select No to disable key. |
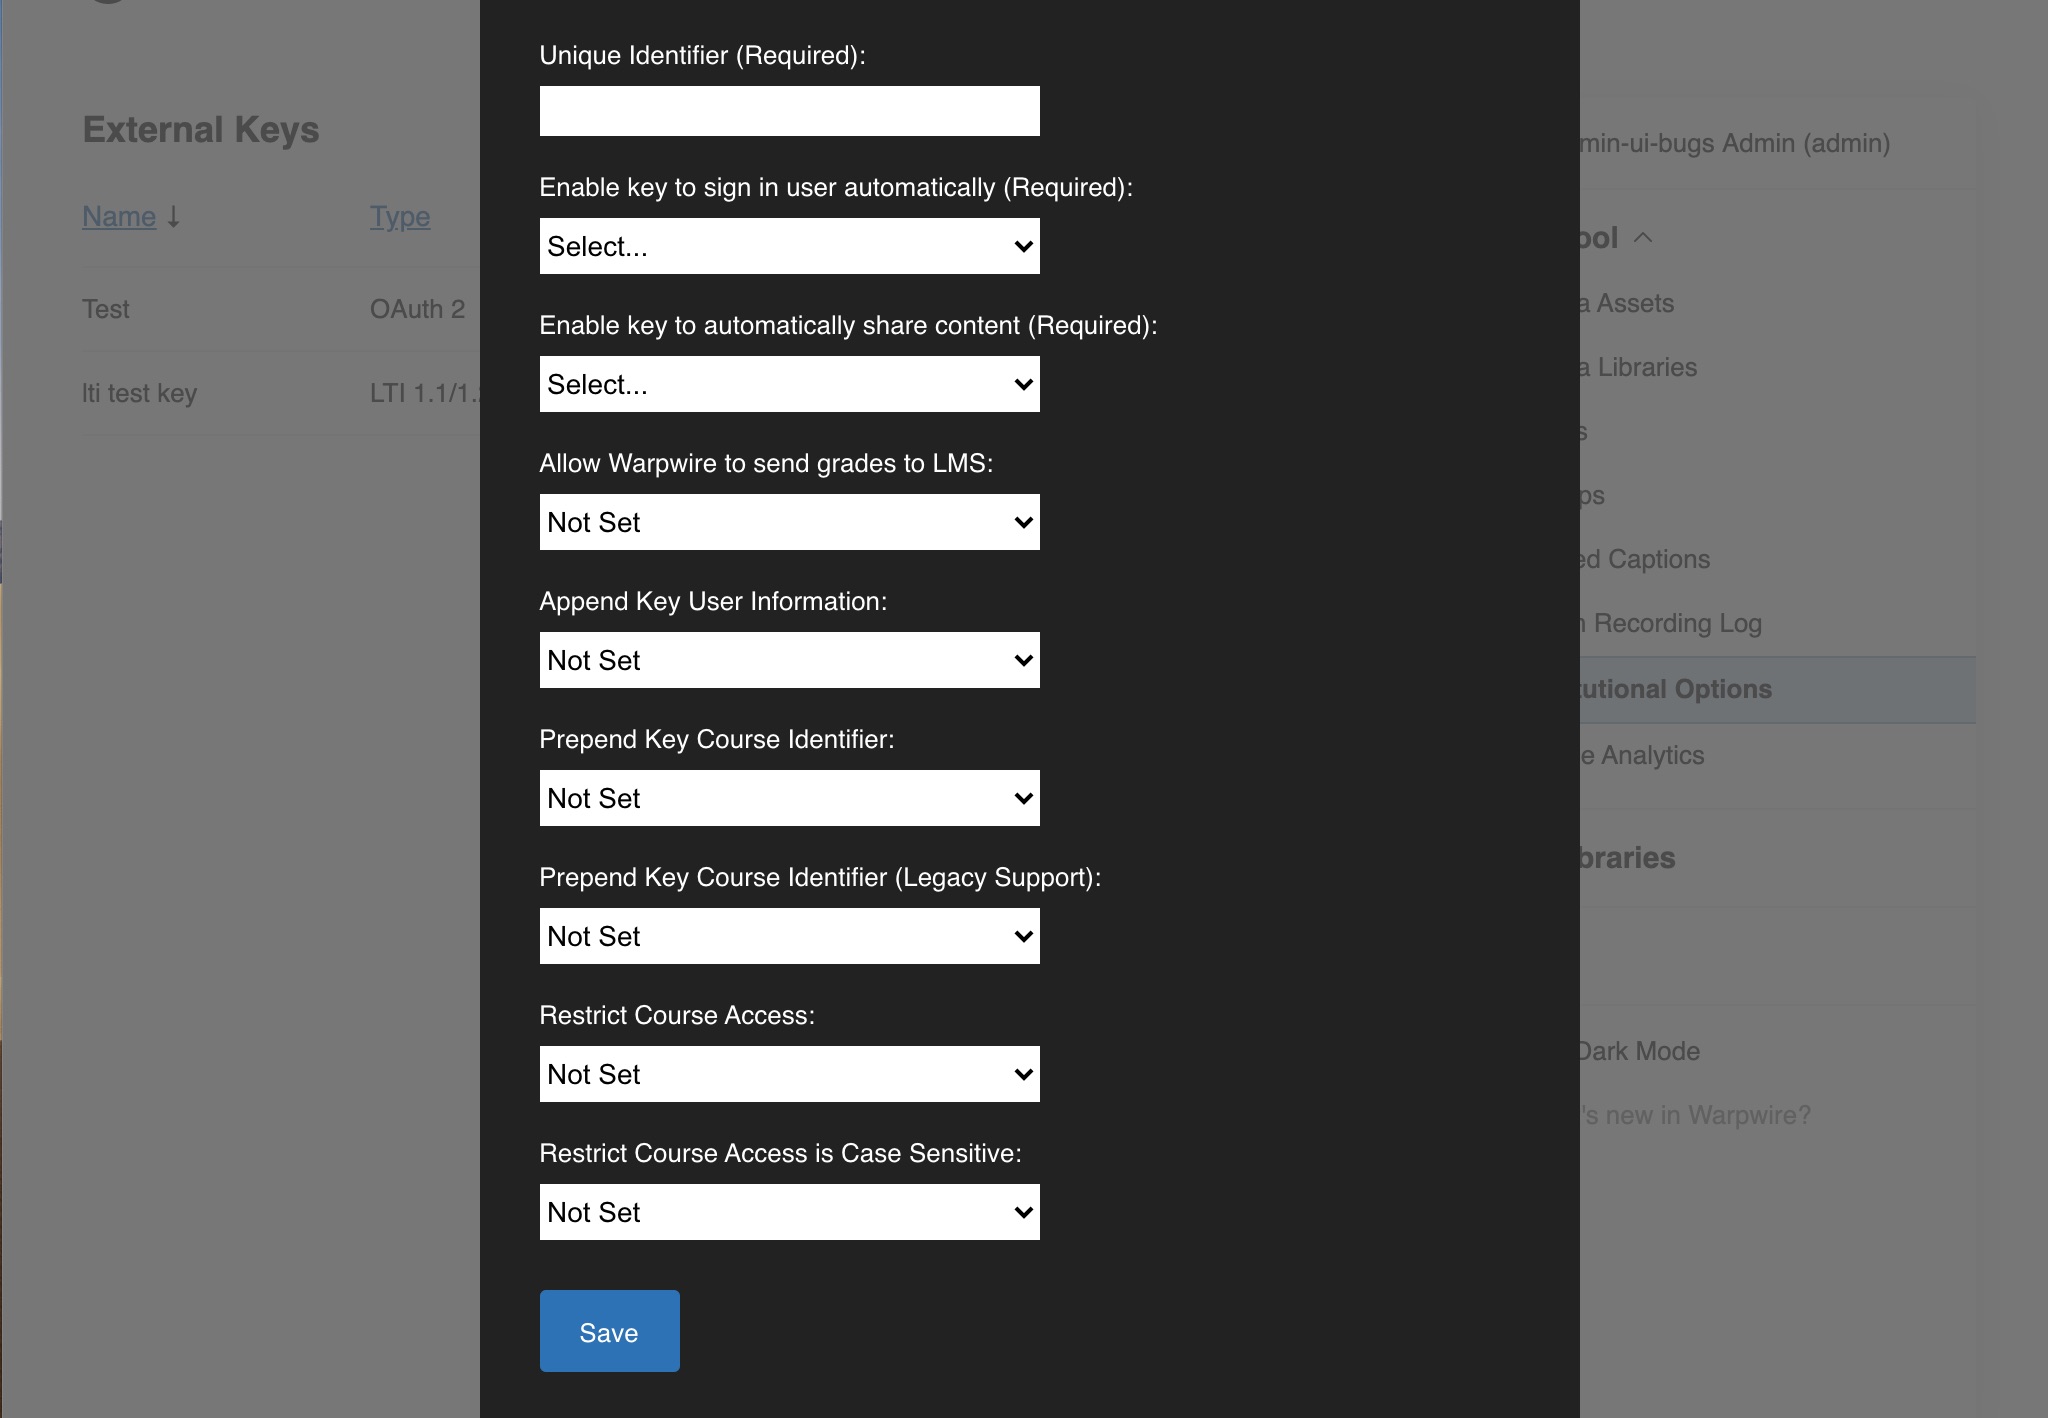
| Unique Identifier (Required): | The unique identifier of the user accout within your LMS. |
| Enable key to sign in user automatically (Required): | Is the LTI key allowed to sign users in? Select Yes or No. |
| Enable key to automatically share content (Required): | If you do not have access to a resource, the LTI key allows the LMS to grant access to resources within Warpwire. If you select No, you must then use the Warpwire share function to grant access. If you select Yes, the LMS will automatically provide access to resources within Warpwire. |
| Allow Warpwire to send grades to LMS: | If you want Warpwire to send grades back to the LMS, select Yes. |
| Append Key User Information: | If you are using multiple LMS's and the user's unique identifier is not synchronized across all the LMS's, the "Appended Key User Information" allows Warpwire to know from which LMS the user is coming from. To allow this, select Yes. Enabling will allow all users to sign onto Warpwire without their accounts colliding because Warpwire will uniquely identify every key so that any user is treated as a distinct user. |
| Prepend Key Course Identifier: | If there are duplicate courses within multiple systems they will be uniquely identified within Warpwire. To allow this, select Yes. |
| Prepend Key Course Identifier (Legacy Support): | Please contact Warpwire Support if you are using an older version of Warpwire. (Prior to 2019.) |
| Restrict Course Access: | If you want only certain courses to have access to Warpwire. You must create a group with a matching unique identifier to the course to enable access to a Media Library. |
| Restrict Course Access is Case Sensitive: | If you want Warpwire to check for casing in courses when restricting course access. |
Click the blue "Save" button when you are ready to add your new OAuth 2 key.
See also: Admin Tool and Media Libraries in the Admin Tool.