Workflows explain common uses of Warpwire. If you have an idea for another or a way Warpwire can be improved, please let us know.
Many instructors have all their course materials ready before a semester begins, and just need to upload it all so they can share it throughout the semester.
This guide will show you how to batch upload multiple resources to Warpwire, and then slowly share them with your students, a few resources each week.
This is a great way to follow your syllabus and ensure that students are seeing the right content at the right time.
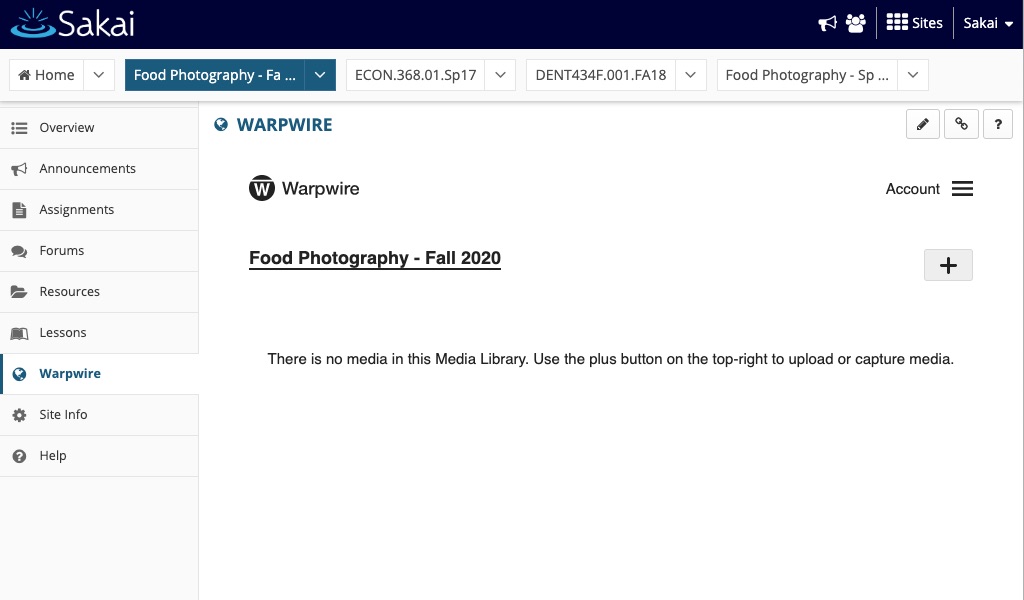
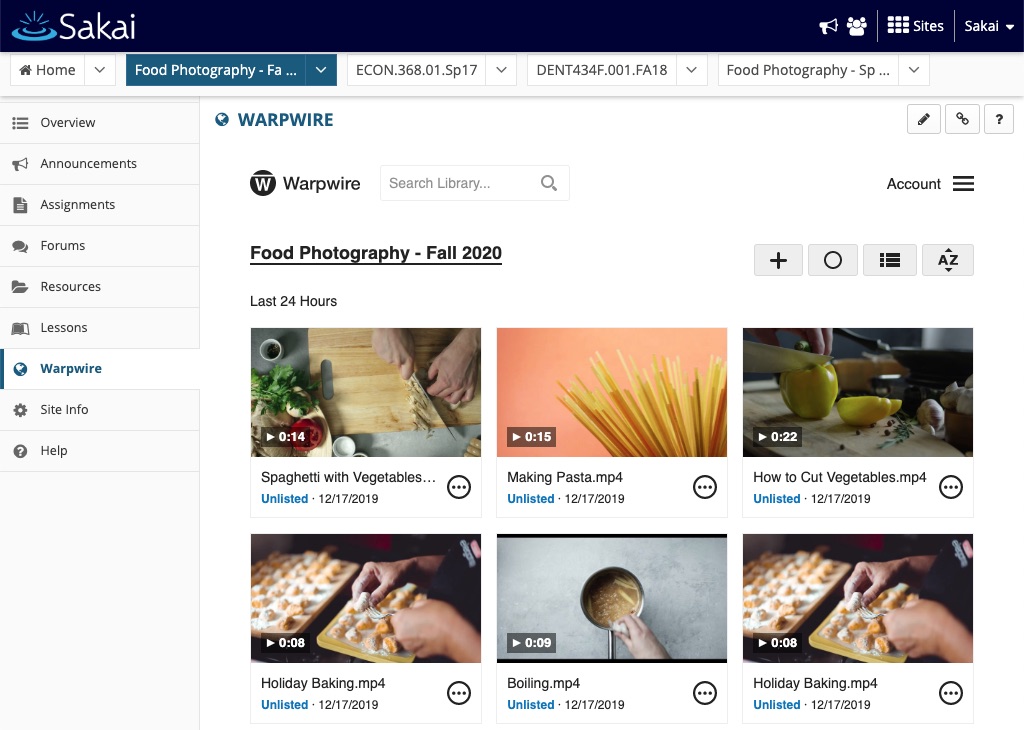
We'll begin by navigating to the course Media Library. We can do this from inside our learning management system or via Warpwire directly. This guide will use a course within Sakai as an example.
We'll navigate to Media Library Settings and change the default visibility of media items to "Unlisted (only Admins)."
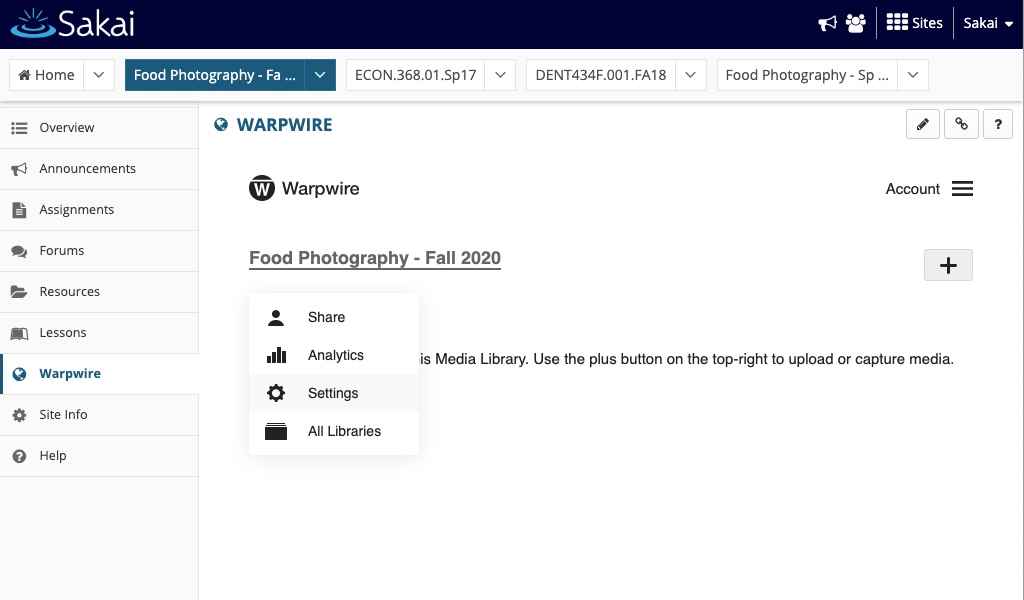

This setting will prevent non-admins, importantly including your students, from navigating to the Media Library and seeing all of the content within it.
They'll still be able to see any content you specifically embed, or any videos you manually set to "Visible."
This feature allows you to control when your students see the videos you upload.
Now that we've changed the visibility to "Unlisted," any content we upload to the library will be automatically marked "Unlisted."
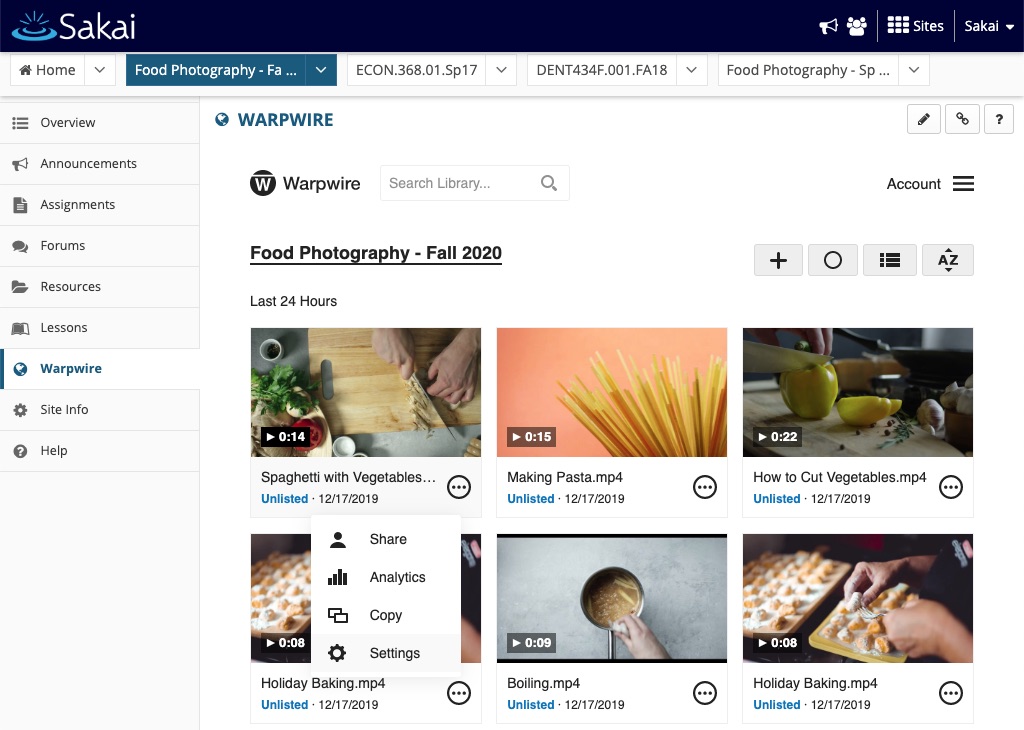
We'll click the plus button in the upper-right corner of the screen and select "Upload Files."
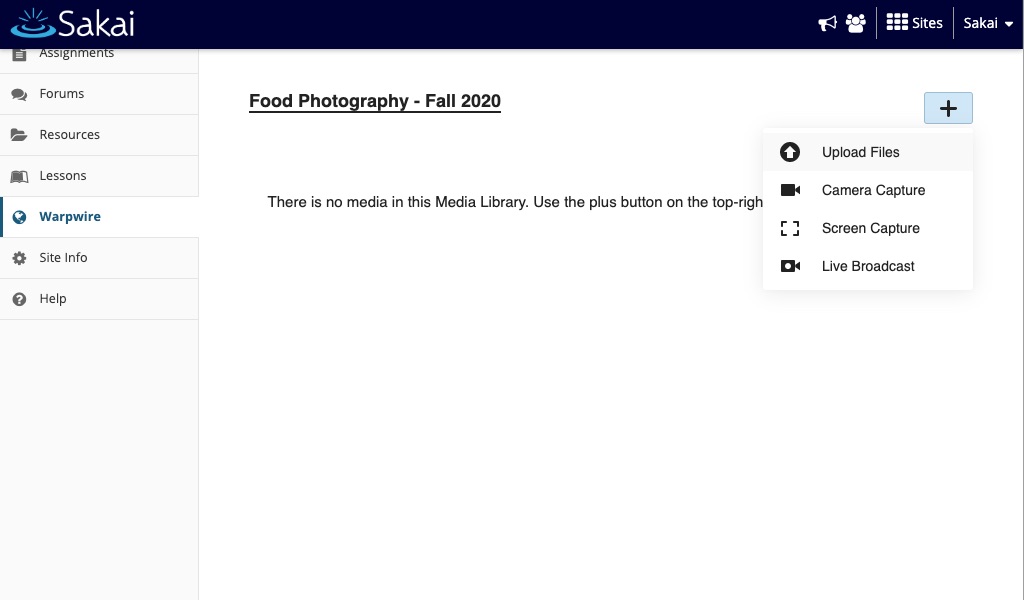
This will open up your computer's file browser, where you can select multiple files at once, and upload them.
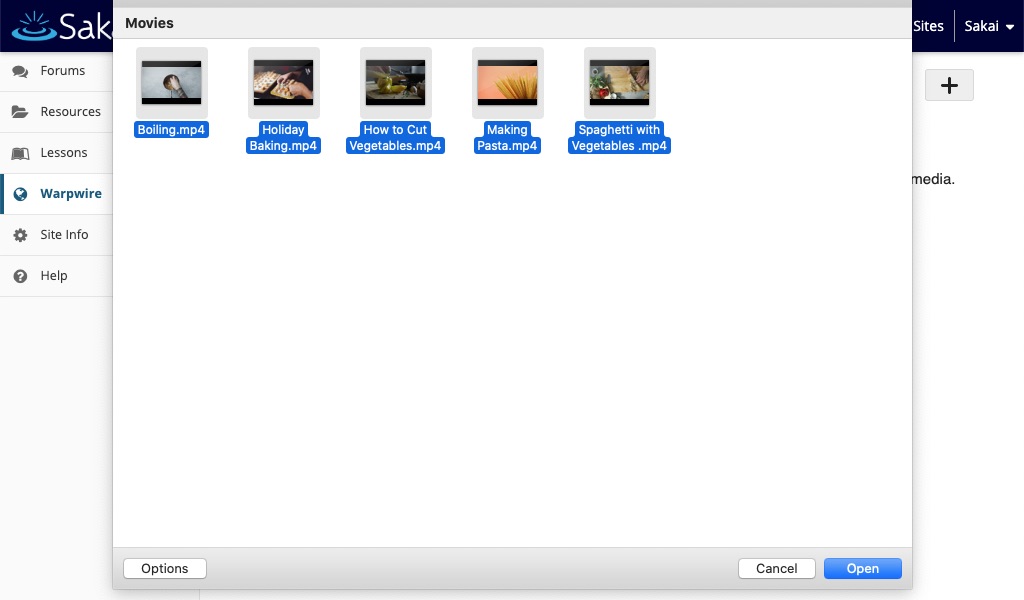
As these assets upload, you'll see "Unlisted" in blue for each item, indicating their visibility status.
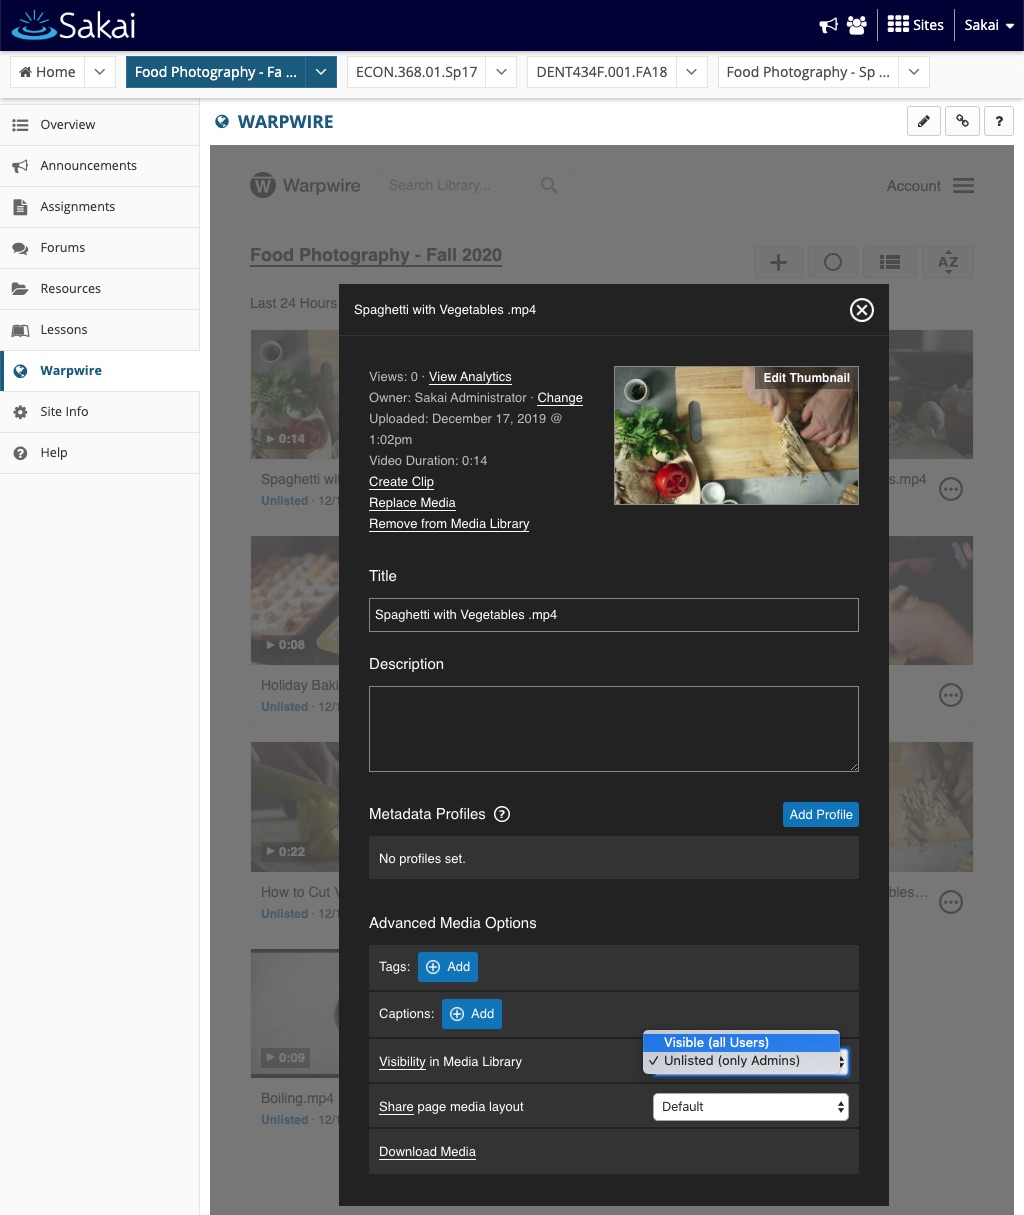
Now let's imagine that we want the students to see a particular video during the first week of class.
We can navigate to the settings for the video, and change the visibility in Media Library to "Visible."
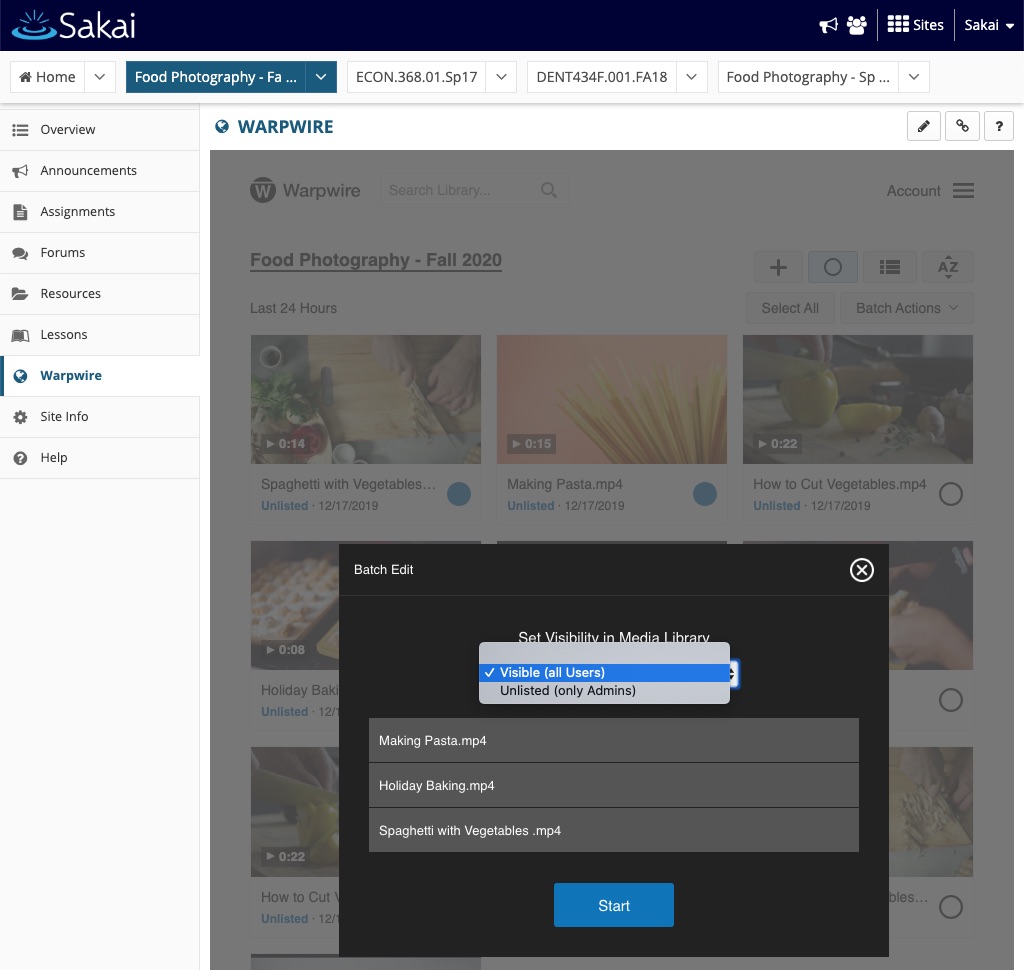
Note: If you'd like to make multiple files visible at the same time, use batch edit mode, by clicking the circle icon in the upper-right of the screen.

Select all of the files you want to make visible, then select the visibility icon (and eye) in the Batch Actions menu on upper-right of the screen.

In the resulting pop-up, select "Visble (all users)" from the dropdown menu, verify that the list of files match those you want to make visible, then click "Start," watch them process, then click "Done."
Now, if a student navigates to this course Media Library, they'll see 3 videos, but not any of the other content, those not marked "Unlisted."

We can come back each week and make visible the videos we want the students to see.
Of course, you can always embed videos directly into various LMS pages, if you prefer.