Workflows explain common uses of Warpwire. If you have an idea for another or a way Warpwire can be improved, please let us know.
As an instructor, it's important to make your students feel comfortable so that you can teach effectively and they can learn in a positive environment. A great way to build this rapport, for in-person and online classes alike, is to have students introduce themselves to you.
This ensures that you are addressing students by their preferred name and that you're pronouncing those names correctly, and helps you connect those names to faces.
There are two primary ways to use Warpwire in this way - with name videos visible either only to the course instructor, or to everyone enrolled in course, both students and instructor. Instructions for both cases follow:
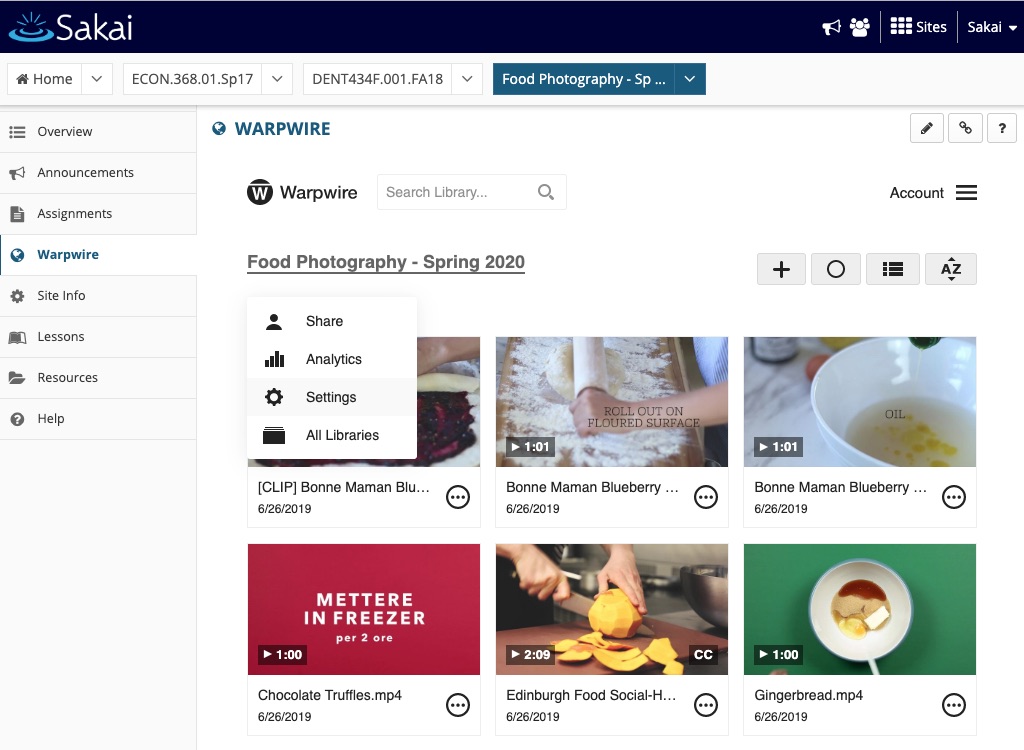
If you are the course instructor, begin by navigating to the Warpwire Media Library for your course, within your learning management system.
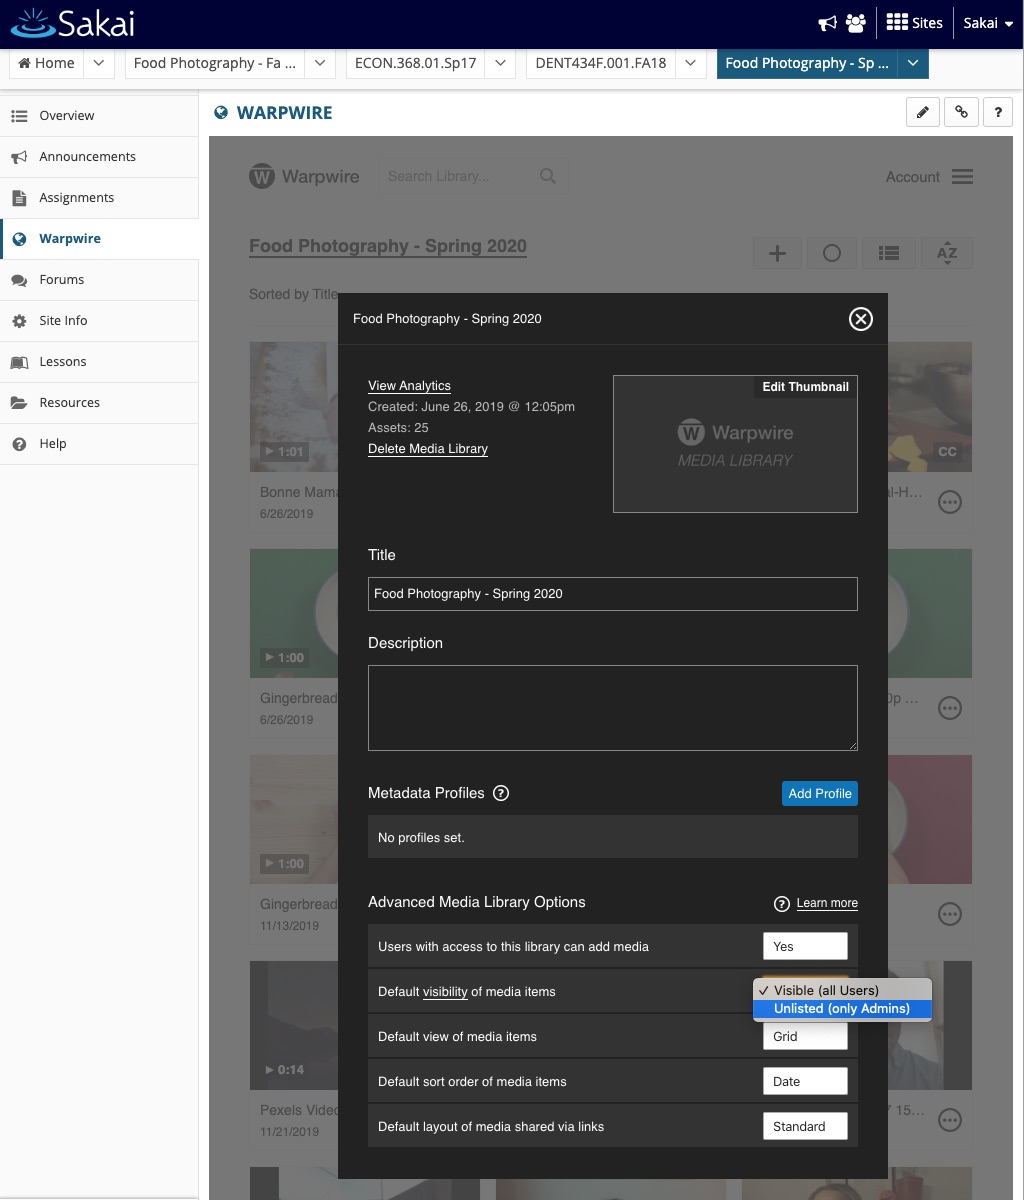
Click the media library options button (three dots) to the right of the Library name and click "Settings."
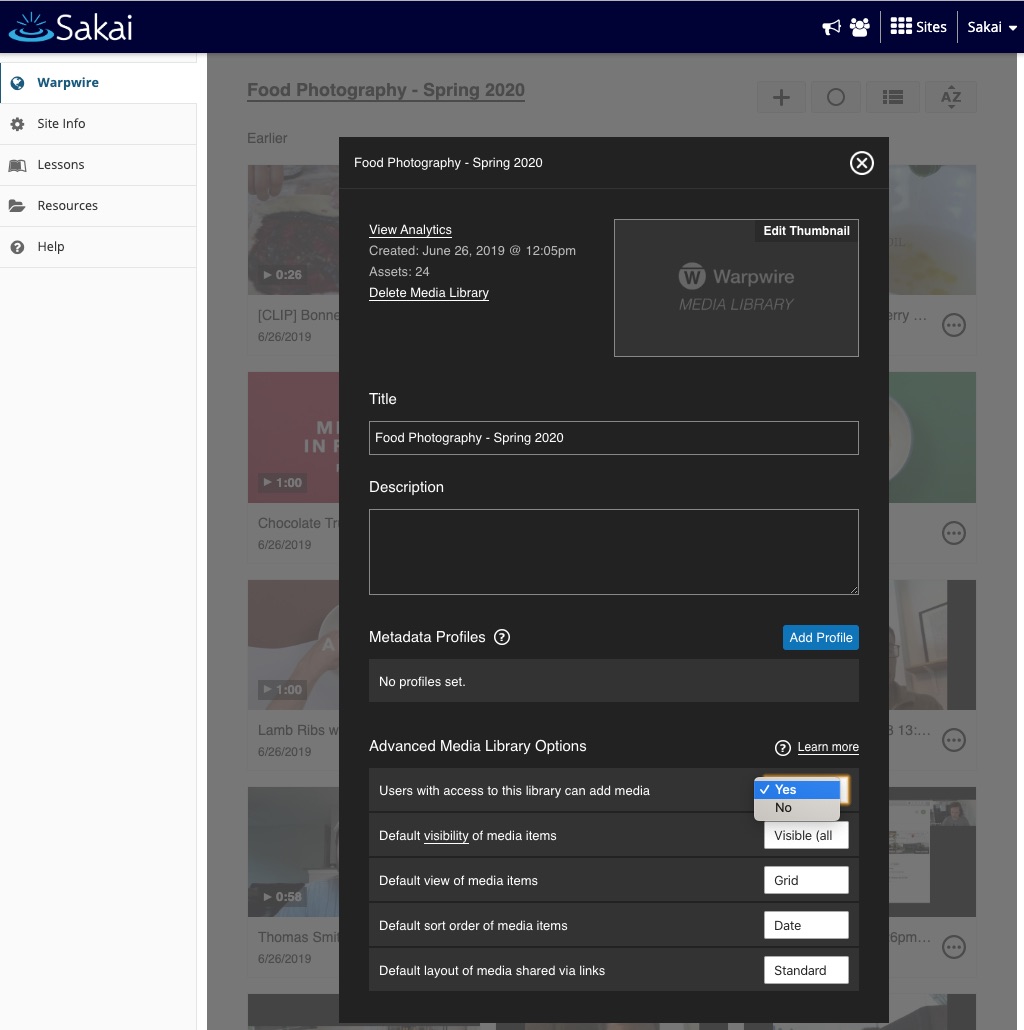
On the settings page, you'll turn on contribution mode by selecting "Yes" from the 'Users with access to this library can add media' dropdown menu - this will allow your students to record and upload videos of themselves saying their names and/or introducing themselves.
Once contribution mode is turned on you can navigate to the discussion or forum section of your course and create a post where everyone can record and embed a video of themselves.
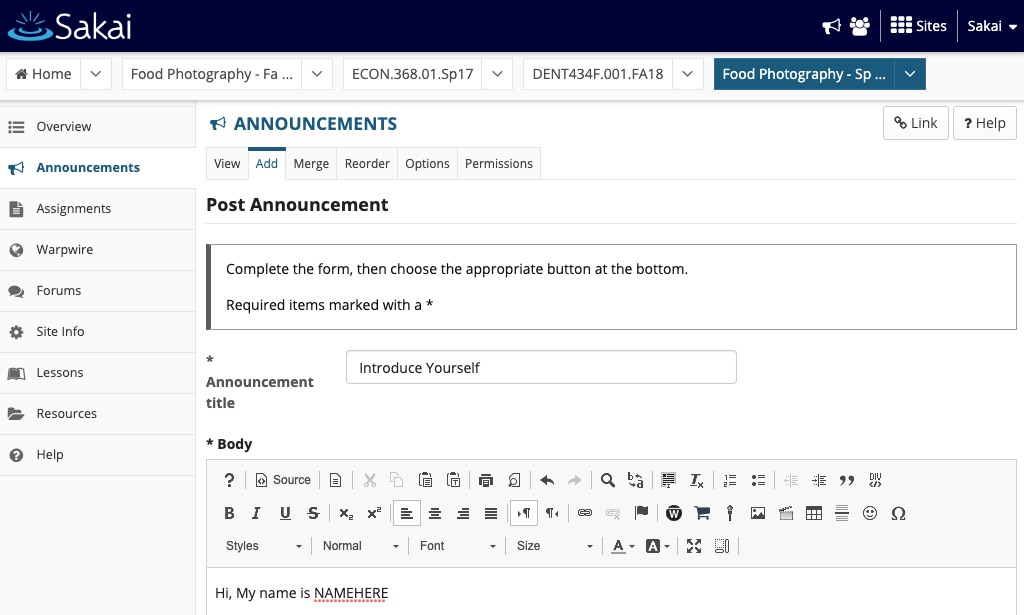
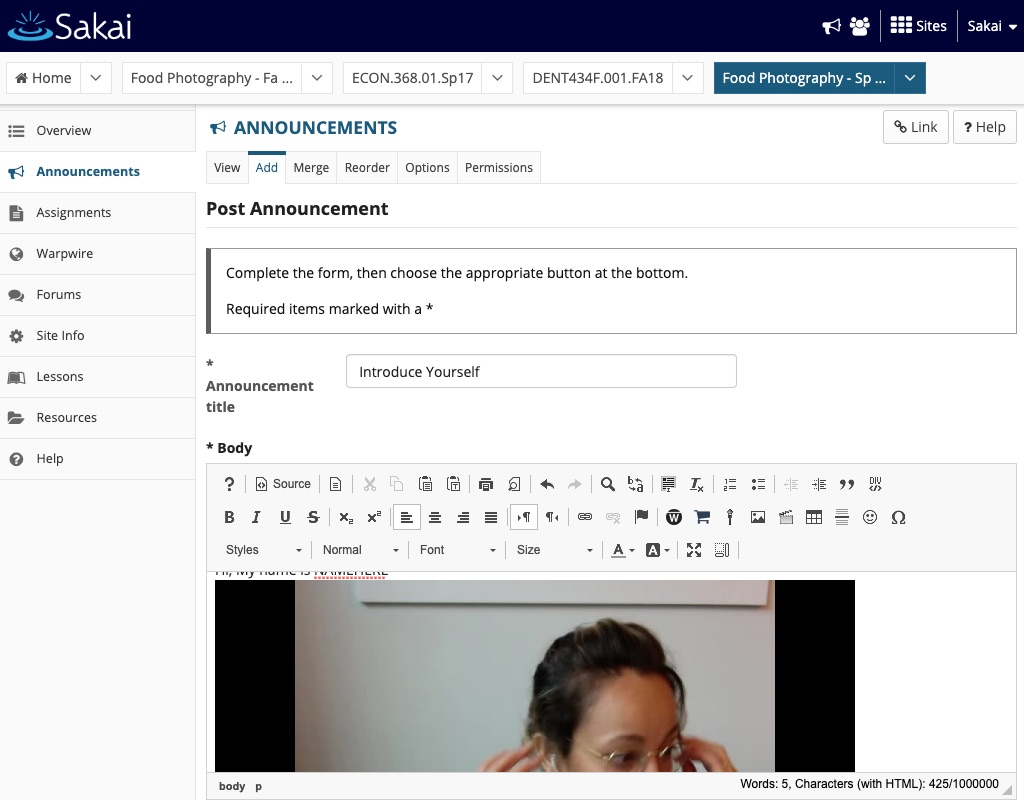
It's a great idea to start the post off by introducing yourself! Record a quick video pronouncing your own name, and welcoming everyone to the course.
Doing this is simple, just click the Warpwire button in the rich text editor, and select "Camera Capture" from the list of content options.
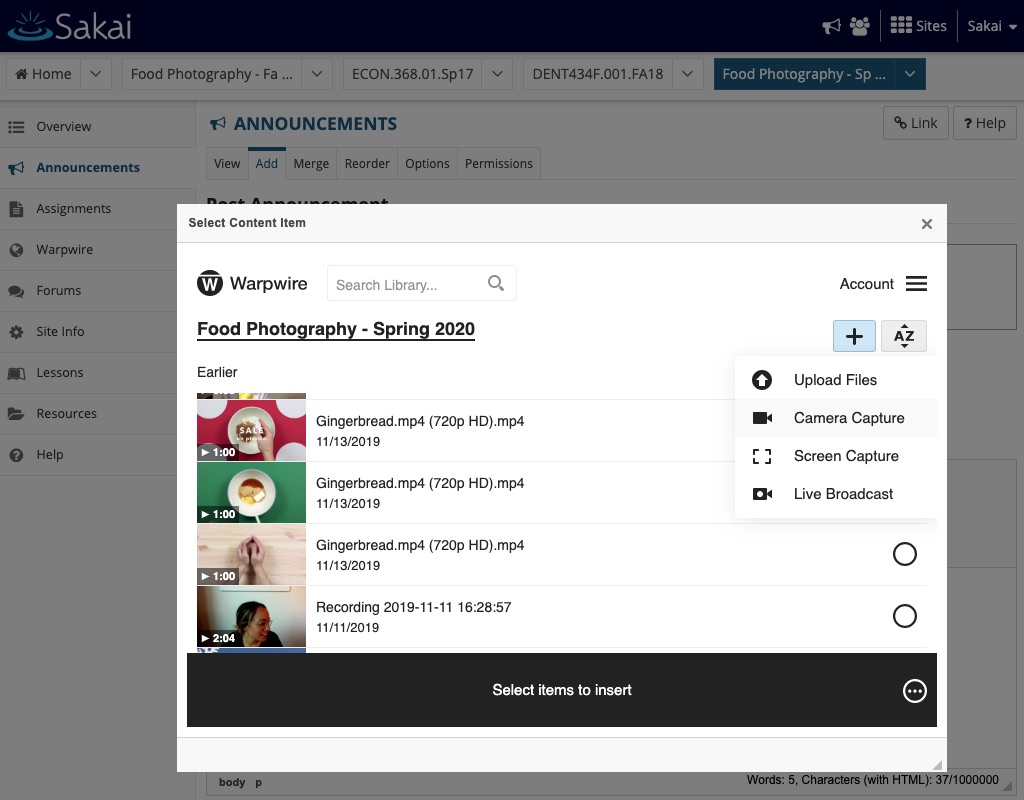
Select the camera and microphone you'd like to use. Depending on your browser, you may have to explicitly allow your camera and microphone to be used.
When the desired camera and microphone are selected, click the round video camera button to begin recording your video.
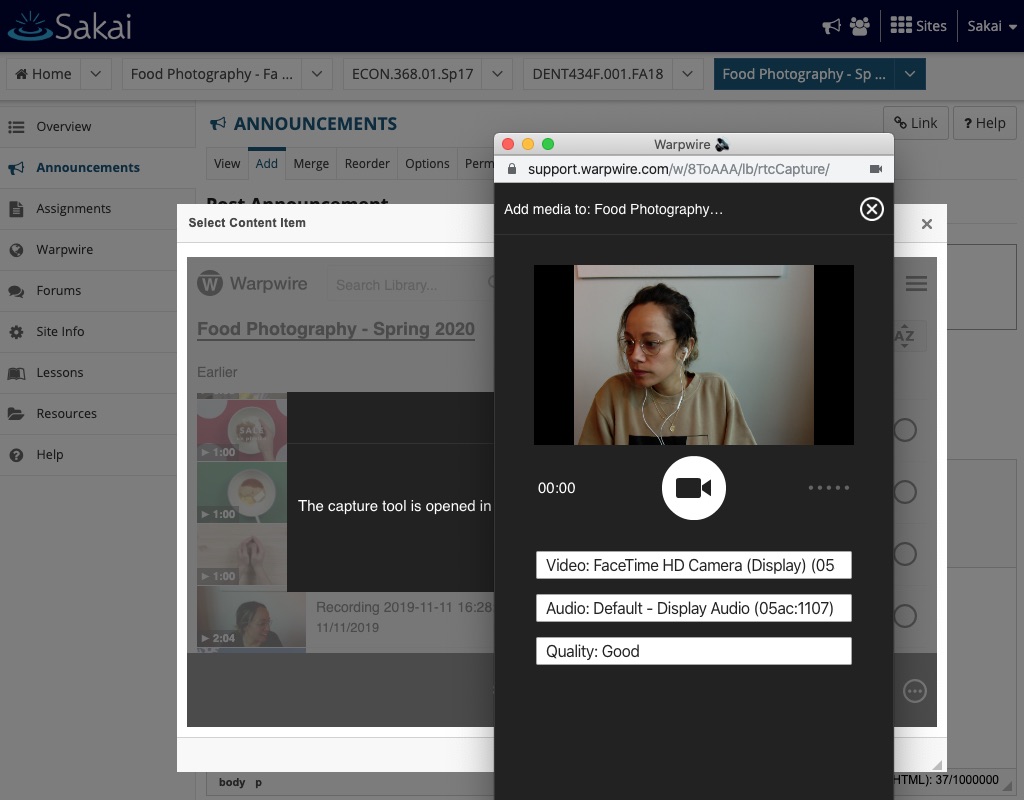
The button will turn red, indicating that your video is being recorded. On either side of the button, you will find the duration of your video and microphone input level indicator. Click the button again to stop recording.
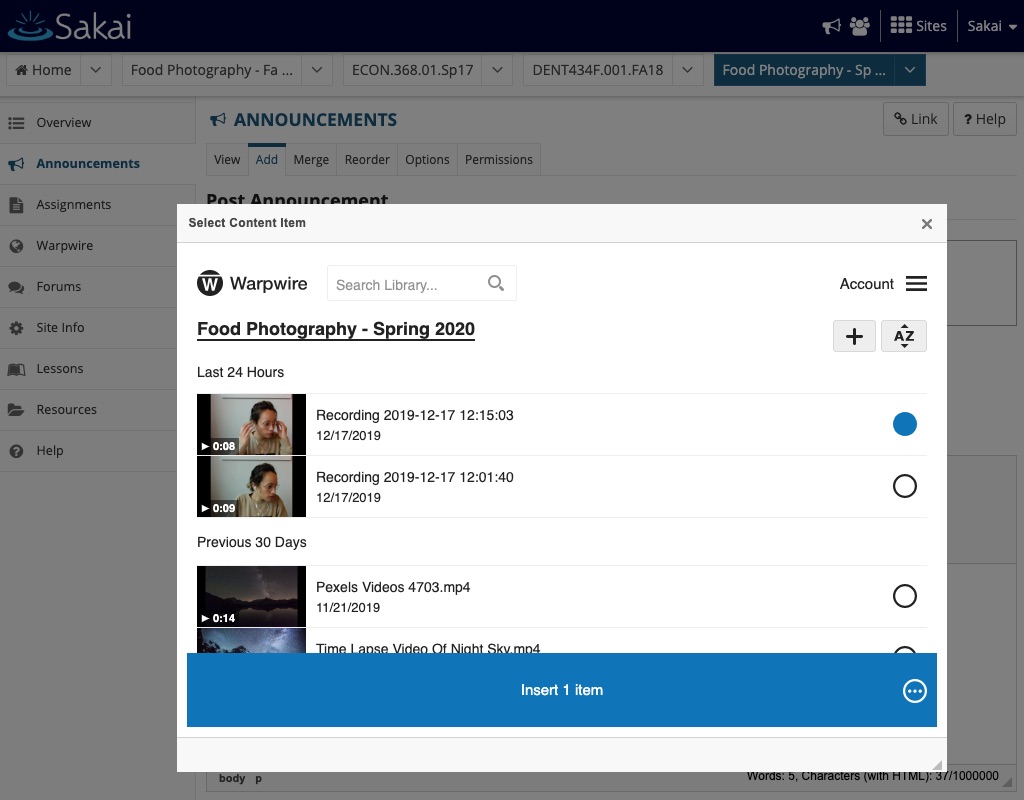
You will now be given the opportunity to name your newly recorded file, and to play it back for review. Once named, click "Save" to save the video to your course Media Library.
You can now select the video you've just recorded and insert it into your discussion post.
Type around the video explaining that you'd like your students to follow suit, then post.
Students will go through the same process themselves, replying to your original post with their own short name/introduction videos.

If you are the course instructor, begin by navigating to the Warpwire Media Library for your course, within your learning management system.
Click the media library options button (three dots) to the right of the Library name and click "Settings."
On the settings page, you'll turn on contribution mode by selecting "Yes" from the ‘Users with access to this library can add media' dropdown menu - this will allow your students to record and upload videos of themselves saying their names and/or introducing themselves.
If you'd prefer to keep students' name pronunciation videos private, you can create an assignment in your course and allow them to post their videos as assignment submissions.
Start by selecting "Unlisted (only admins)" from the ‘Default visibility of media items' dropdown menu.
Navigate to the assignment section of your LMS, and create a new assignment.
In the assignment description section, instruct your students to use the Warpwire button in the rich text editor to record themselves pronouncing their name, and perhaps introducing themselves to you.
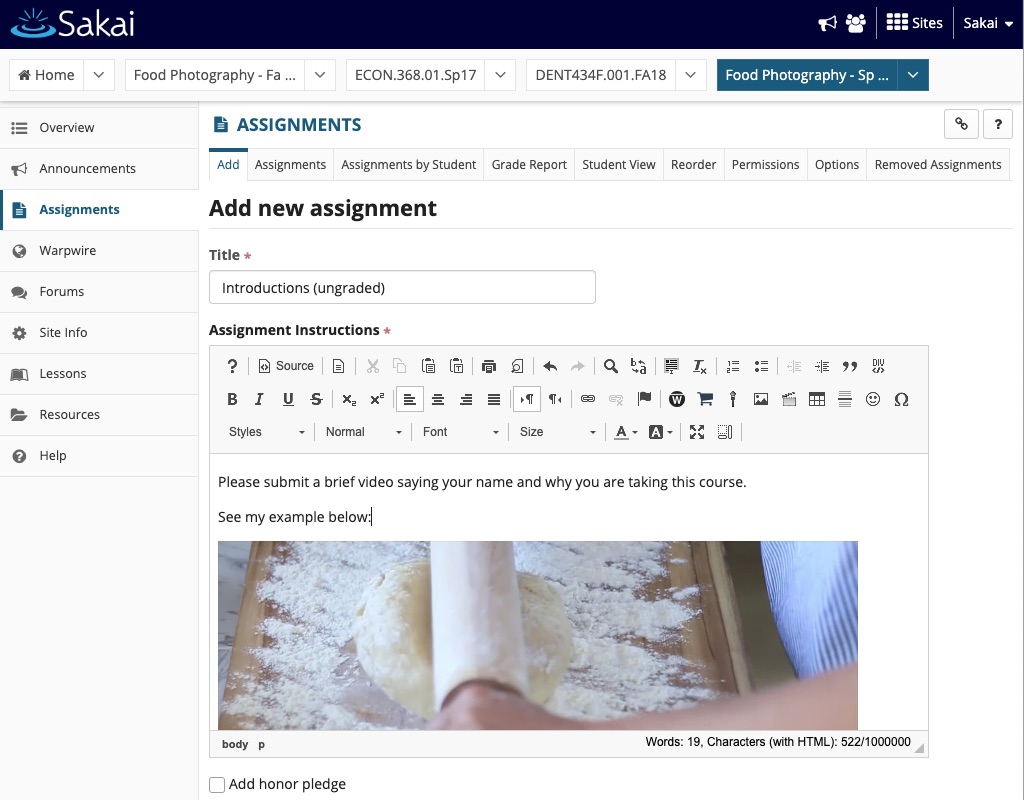
If you'd like, you can record and insert your own example video as part of the assignment description.

Follow the instructions above to record a video and insert it into the rich text editor for you assignment post.
Students will go through the same process themselves, submitting their own short name/introduction videos to the assignment page.
You will be able to see all of the videos as submitted assignments, but the students will not be able to see each others videos.