Warpwire is a secure media platform that helps educators and their students connect through video while keeping their content secure. Whether you are an instructor, student, or administrator, Warpwire is designed to be simple and easy to use, flexible enough to suit your unique needs, and lightweight to seamlessly fit into your workflows.
This article will give you a quick overview of the basics, and will help you get started incorporating video into your use cases.
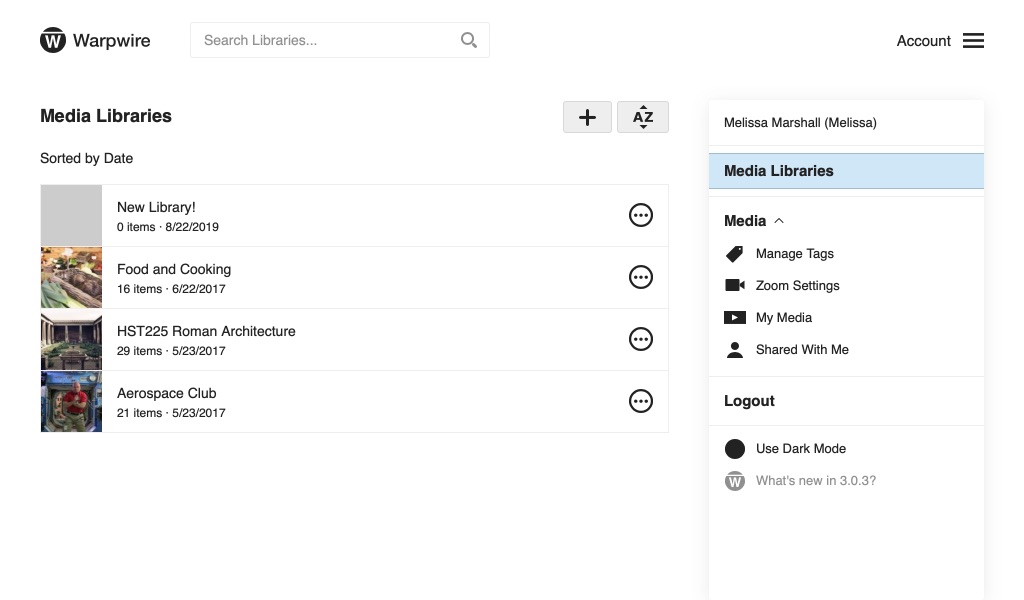
First, you'll need to create a Media Library to house your video, audio, and image content. You can create a Media Library with the plus (+) button on the Media Libraries page. By default, this Media Library is only viewable by your account.
You can also create a new Media Library with the plus (+) button in the Account Menu > Media Libraries pane. All you have to do is give your new Media Library a title, then click "Create New."

Your newly created Media Library will appear on the Media Libraries page.
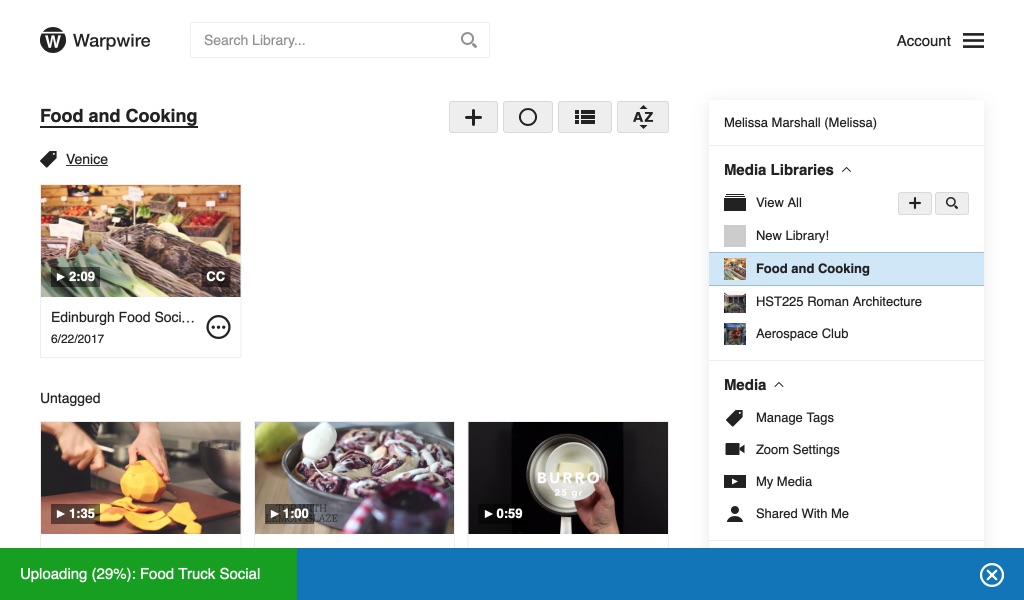
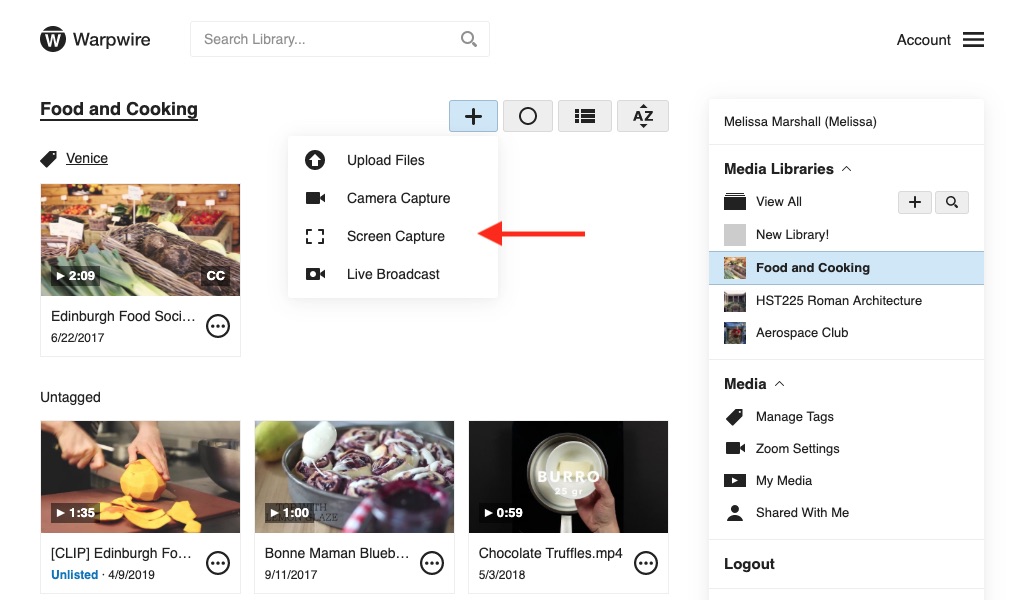
Navigate to the Media Library where you want to upload files. You'll see a plus (+) button in the upper-right of the screen. Click this button and then select "Upload Files" from the drop-down menu options.
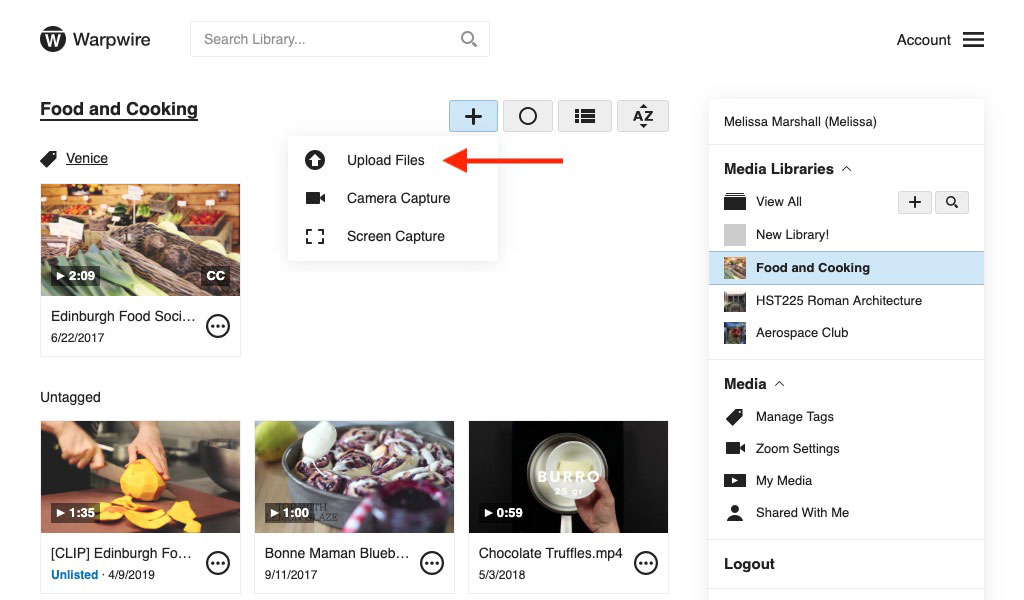
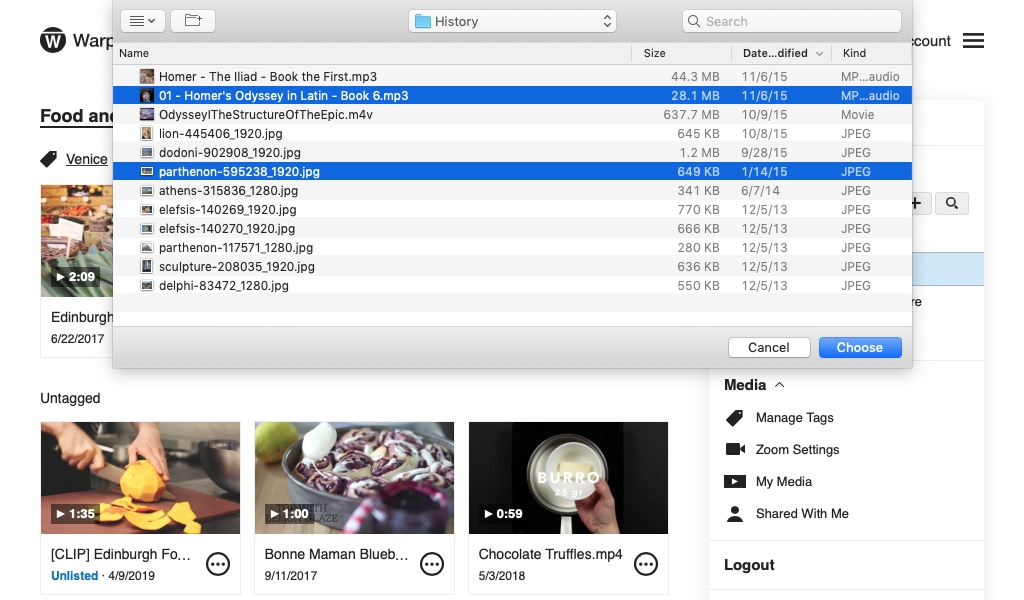
This will open a file browser if you're using a personal computer, or your mobile device's file storage. Select one or several files to upload.
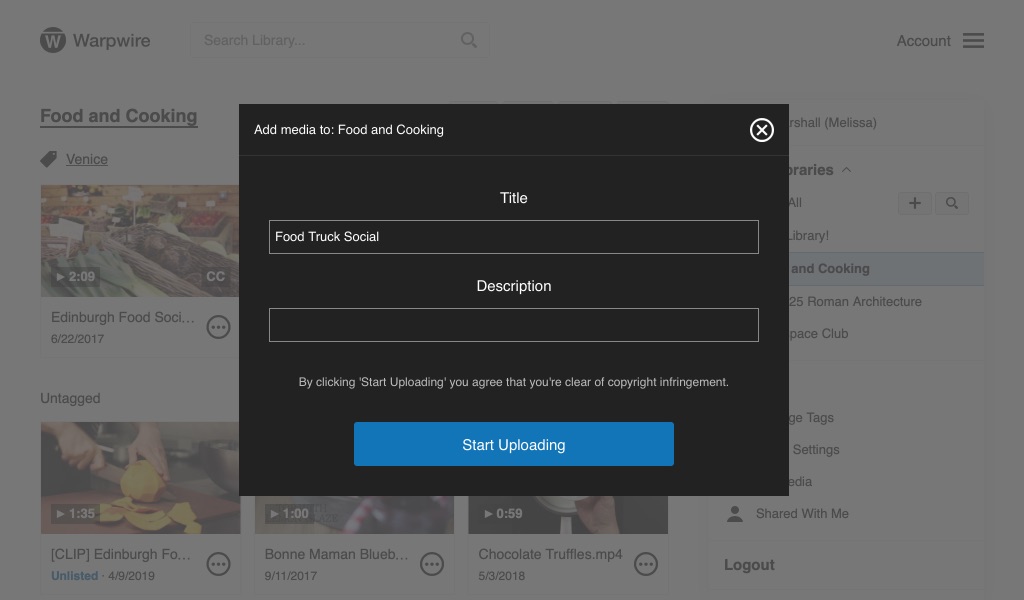
If you're only uploading a single file, you'll have the opportunity to edit the file's Title and Description before clicking the "Start Uploading" button.
As the file(s) upload to your Media Library, you'll see an upload progress bar at the bottom of the screen. The files will begin to appear in the library. When the upload progress bar goes away, all of your files are in the Media Library and your upload is complete.
If you wish to cancel the upload, click the cancel ![]() button on the right of the progress bar and verify your choice.
button on the right of the progress bar and verify your choice.
Warpwire provides a modern HTML5-based Multi-Source Capture tool from all browsers that support it (right now, this means Google Chrome, Mozilla Firefox, Microsoft Edge, or Opera). If your browser doesn't support Multi-Source Capture, you'll be automatically directed to our legacy capture interfaces.
To record, begin by navigating to the Media Library where you want your video to save. Then, click the plus (+) button at the top of the page.
Next, select "Camera Capture" from the drop-down menu to begin the capture process.

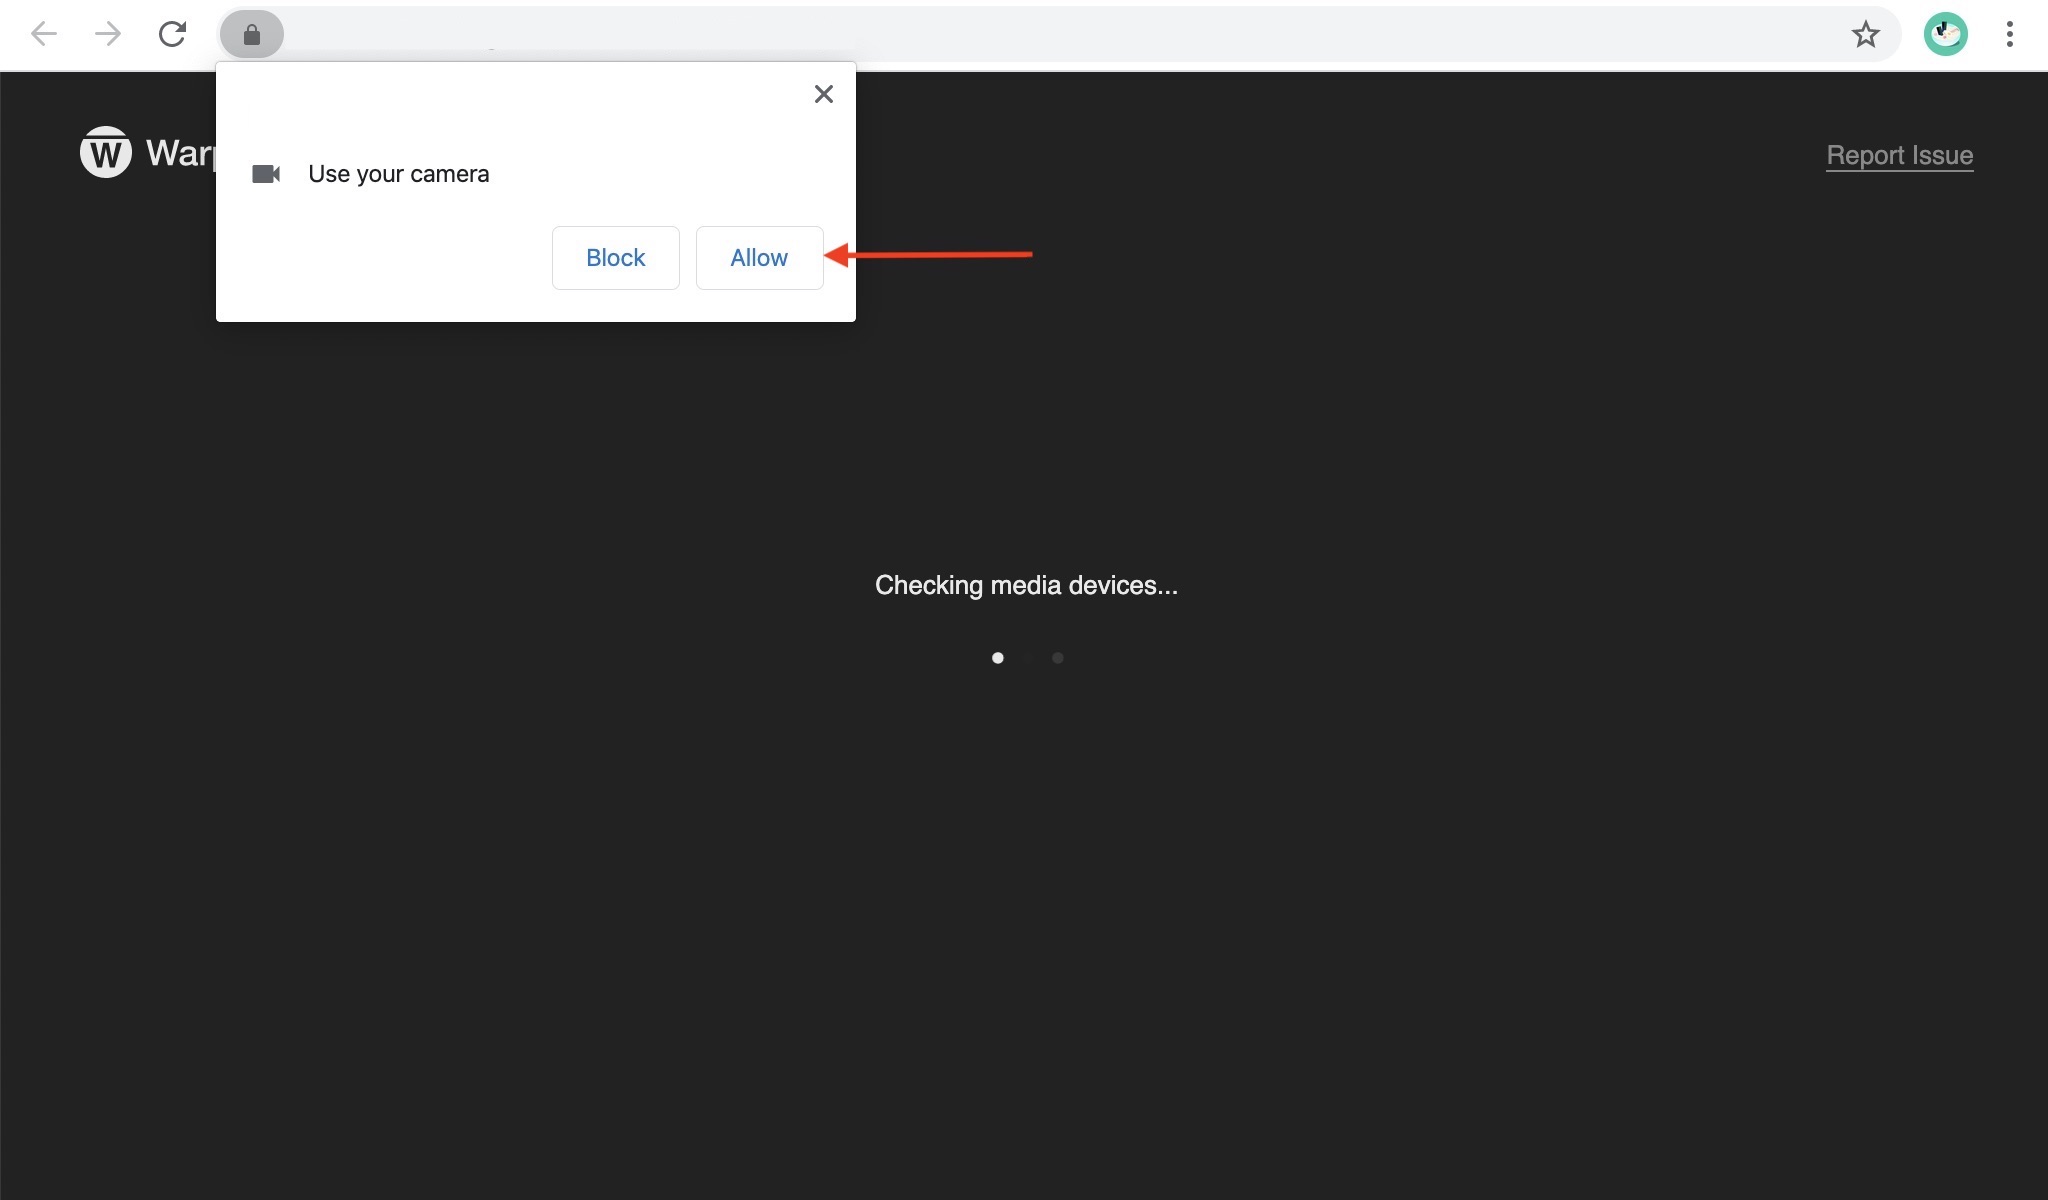
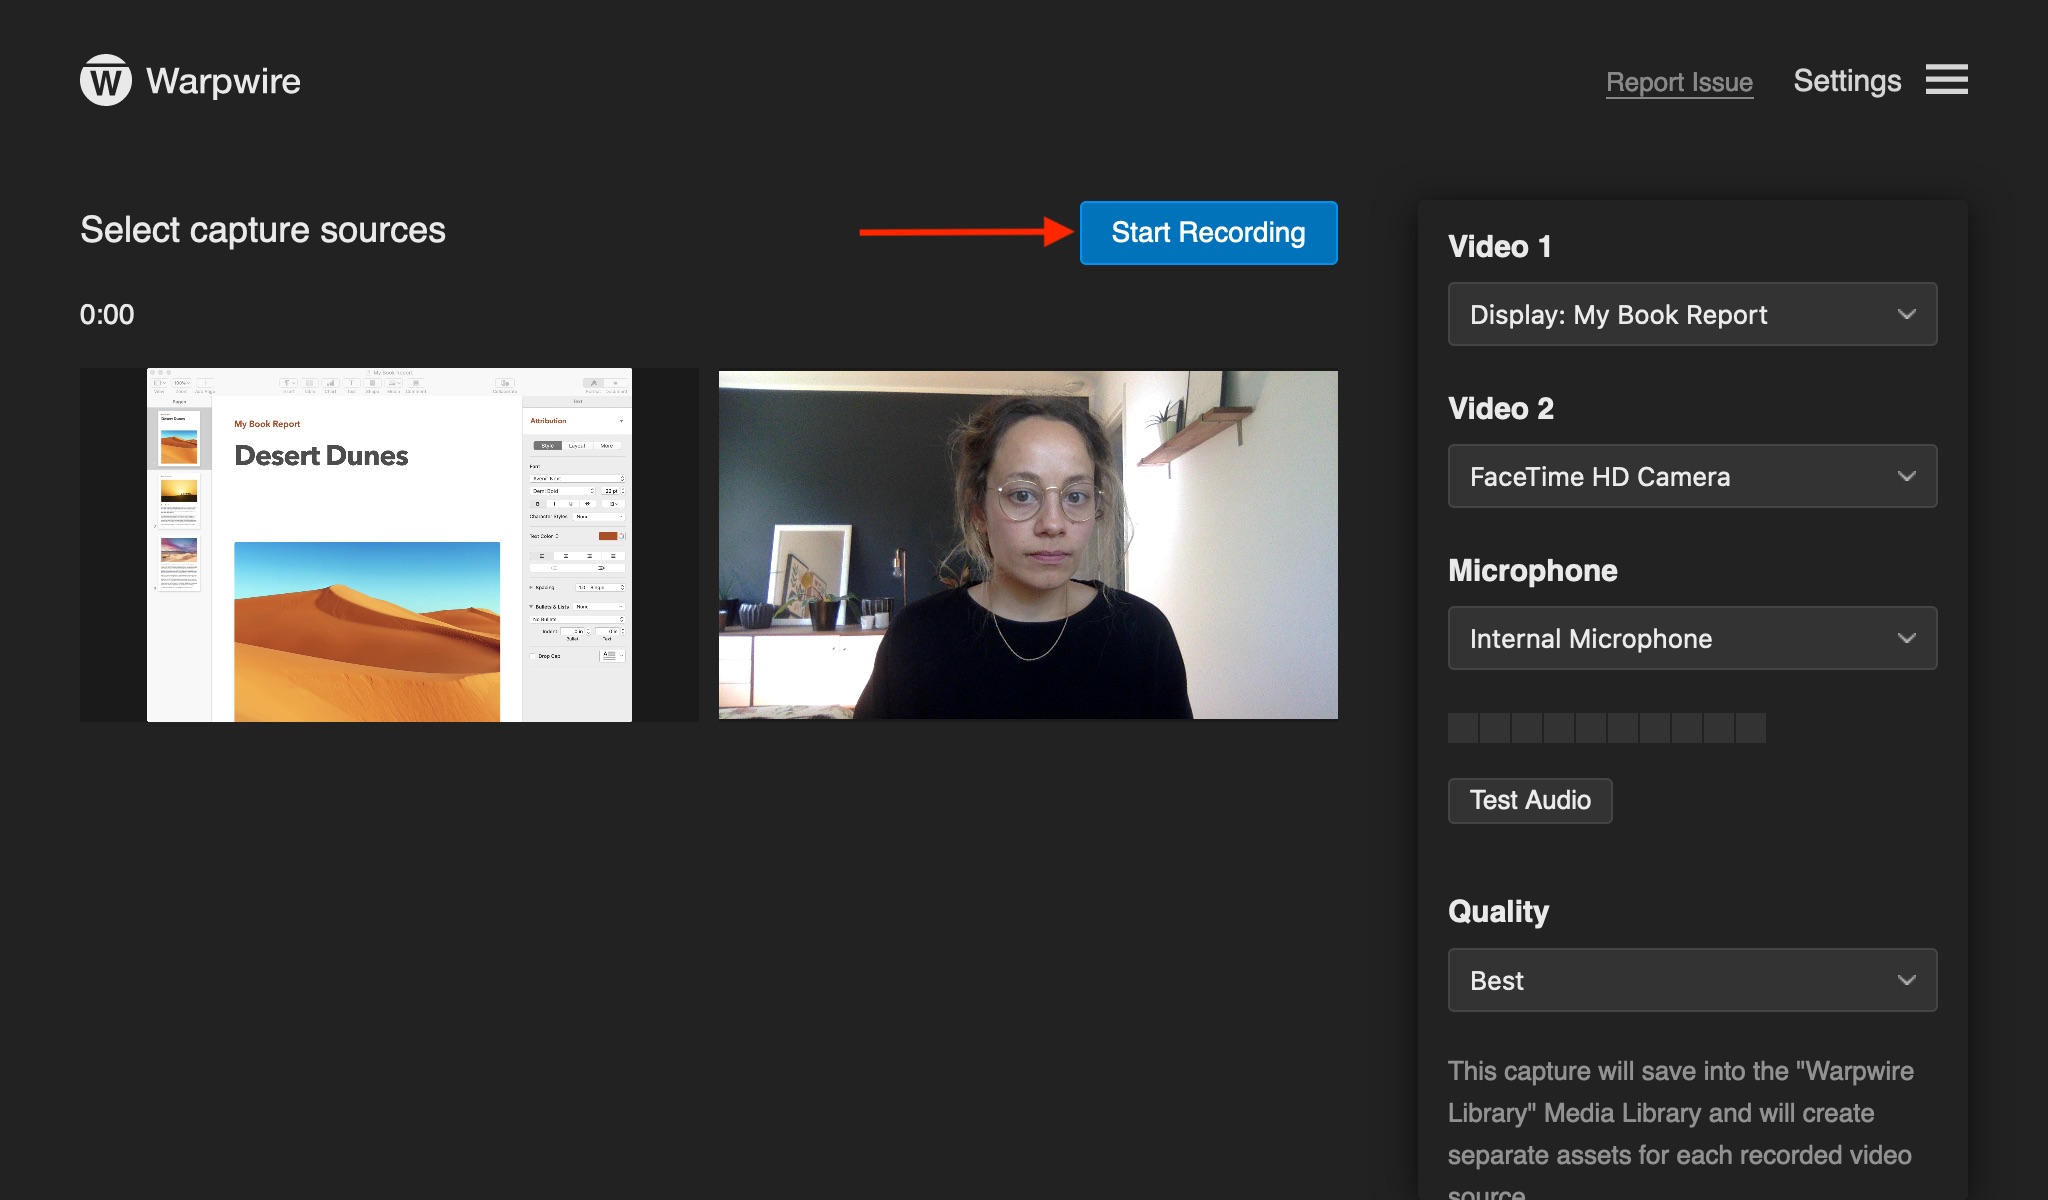
Depending on your browser, you may have to explicitly allow your camera and microphone to be used. Next, select desired sources to record, up to 4 video sources are allowed depending on the computer.
Click the blue "Start Recording" button to begin recording your video, then click the red "Stop Recording" button to stop recording.
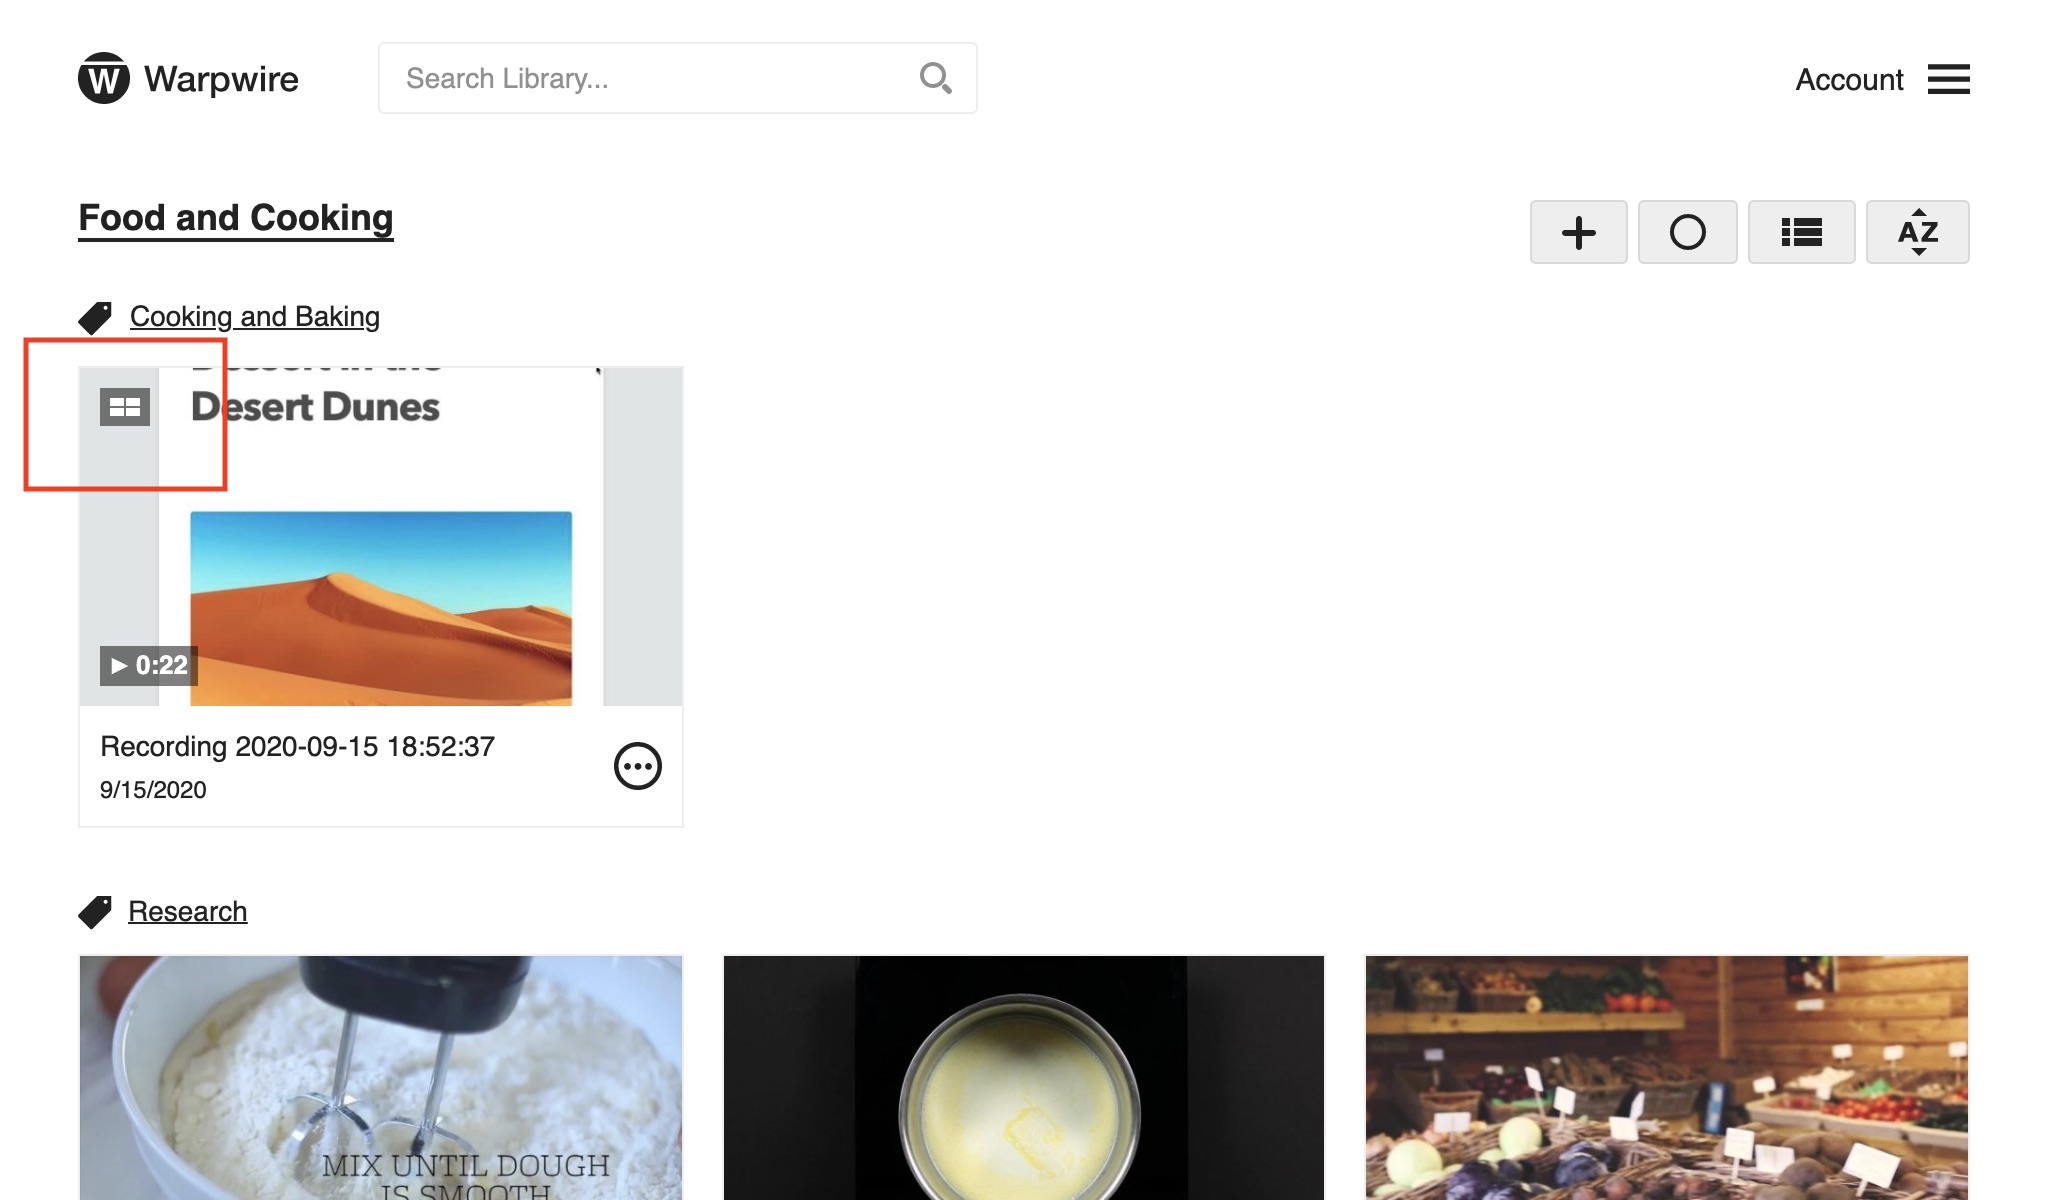
Your recording will then save directly into the Media Library. If you recorded more than one video source, an icon will appear on the top-left of the thumbnail and the media will play back with the Multi-Source Playback interfaces.
Warpwire provides a modern HTML5-based Multi-Source Capture tool from all browsers that support it (right now, this means Google Chrome, Mozilla Firefox, Microsoft Edge, or Opera). If your browser doesn't support Multi-Source Capture, you'll be automatically directed to our legacy capture interfaces.
To record your screen, first navigate to the Media Library where you'd like to make your recording.
Then, click the plus (+) button at the top of the screen, and select "Screen Capture" from the menu.
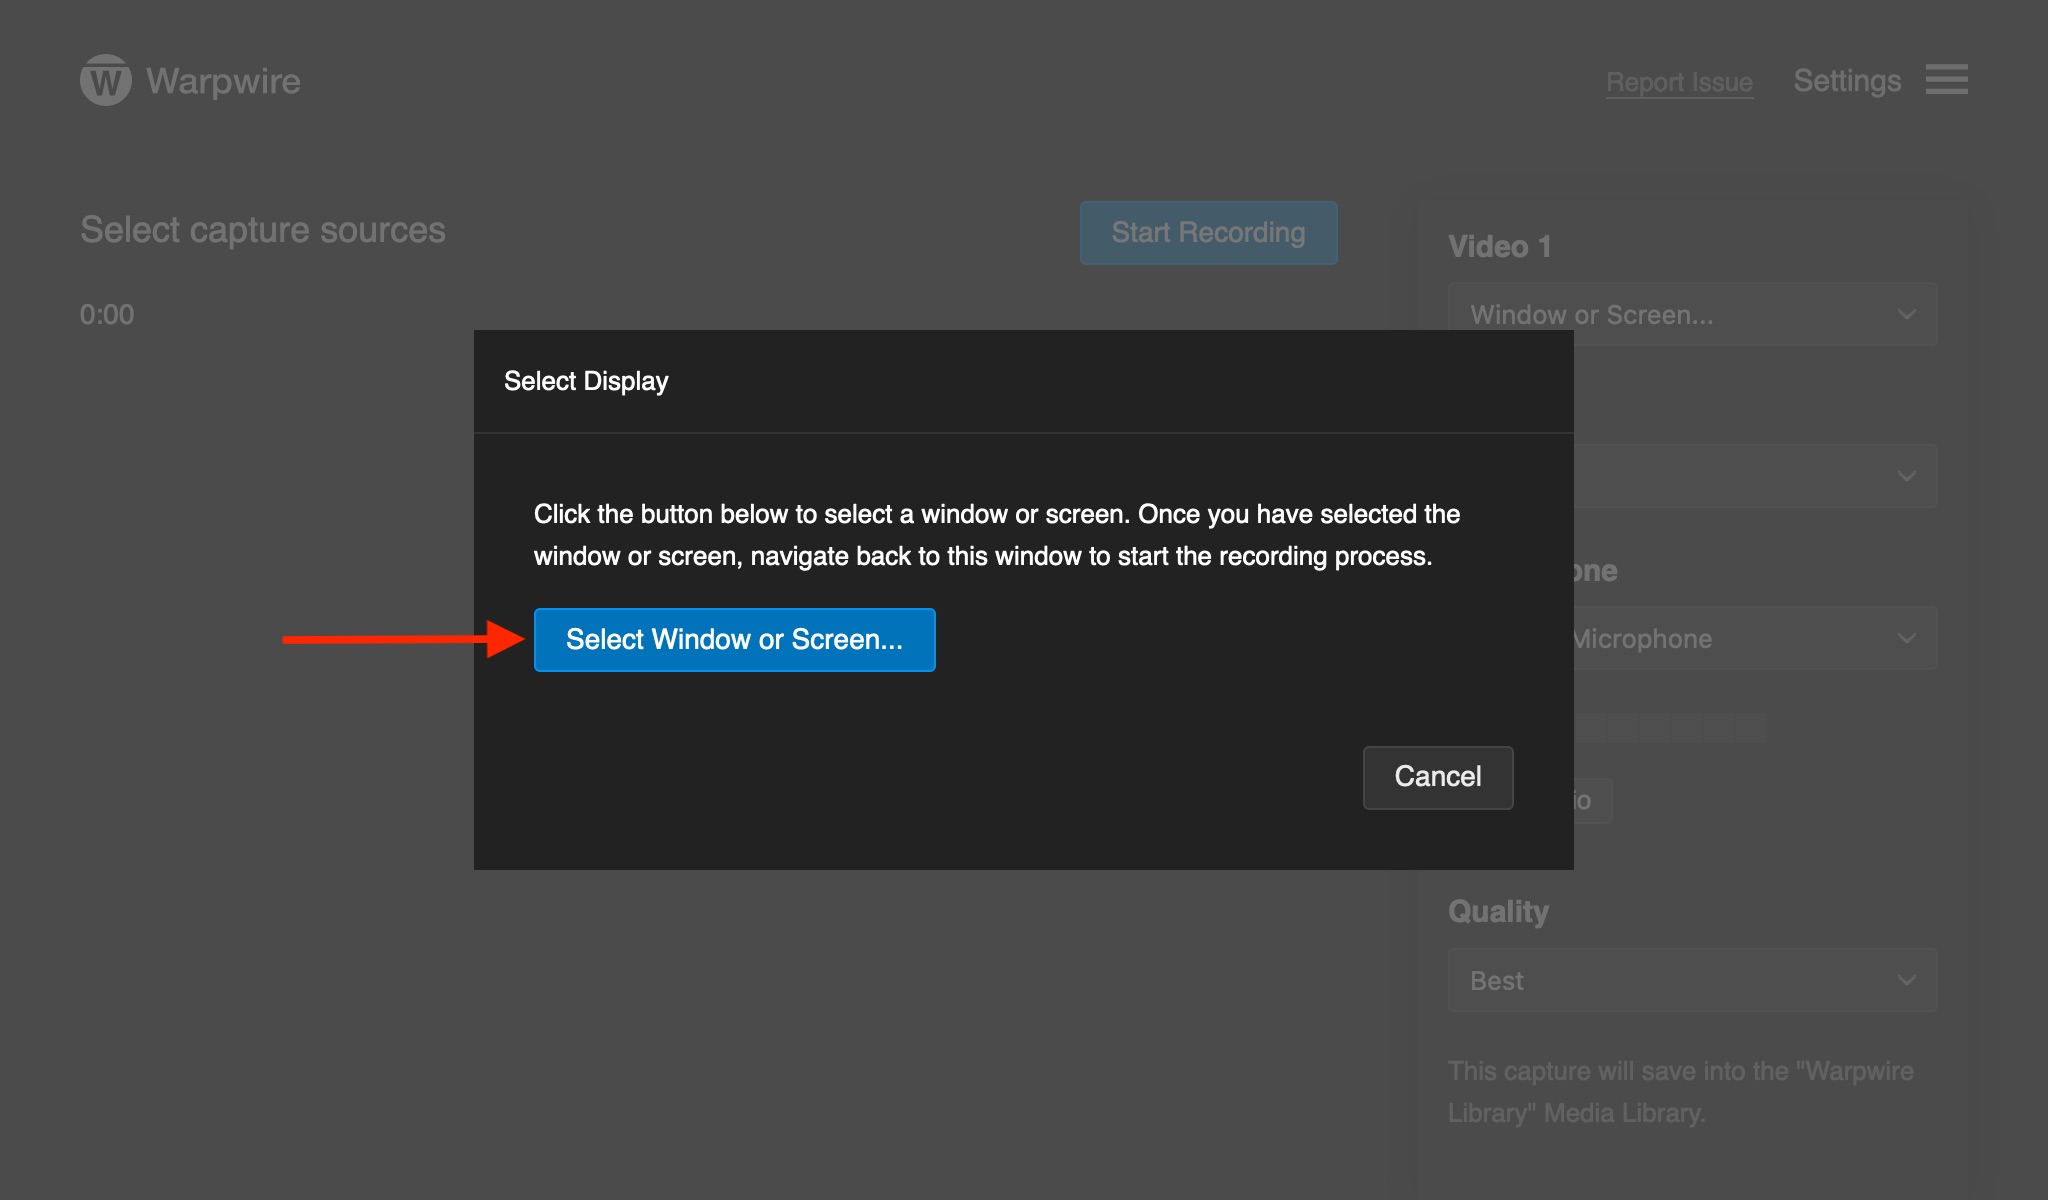
Depending on your browser, you may have to explicitly allow your devices to be used. Next, select desired sources to record, up to 4 video sources are allowed depending on the computer.
To capture a window or screen from your computer, simply click the "Window or Screen..." option from the video source menu. Once clicked, the "Select Display" window will open. Read the instructions and then click the blue "Select Window or Screen..." button to select the source.
Click the blue "Start Recording" button to begin your recording. When you're done recording, navigate back to the Warpwire browser tab and click the red "Stop Recording" button to end your recording. Your recording will then save to the Media Library.
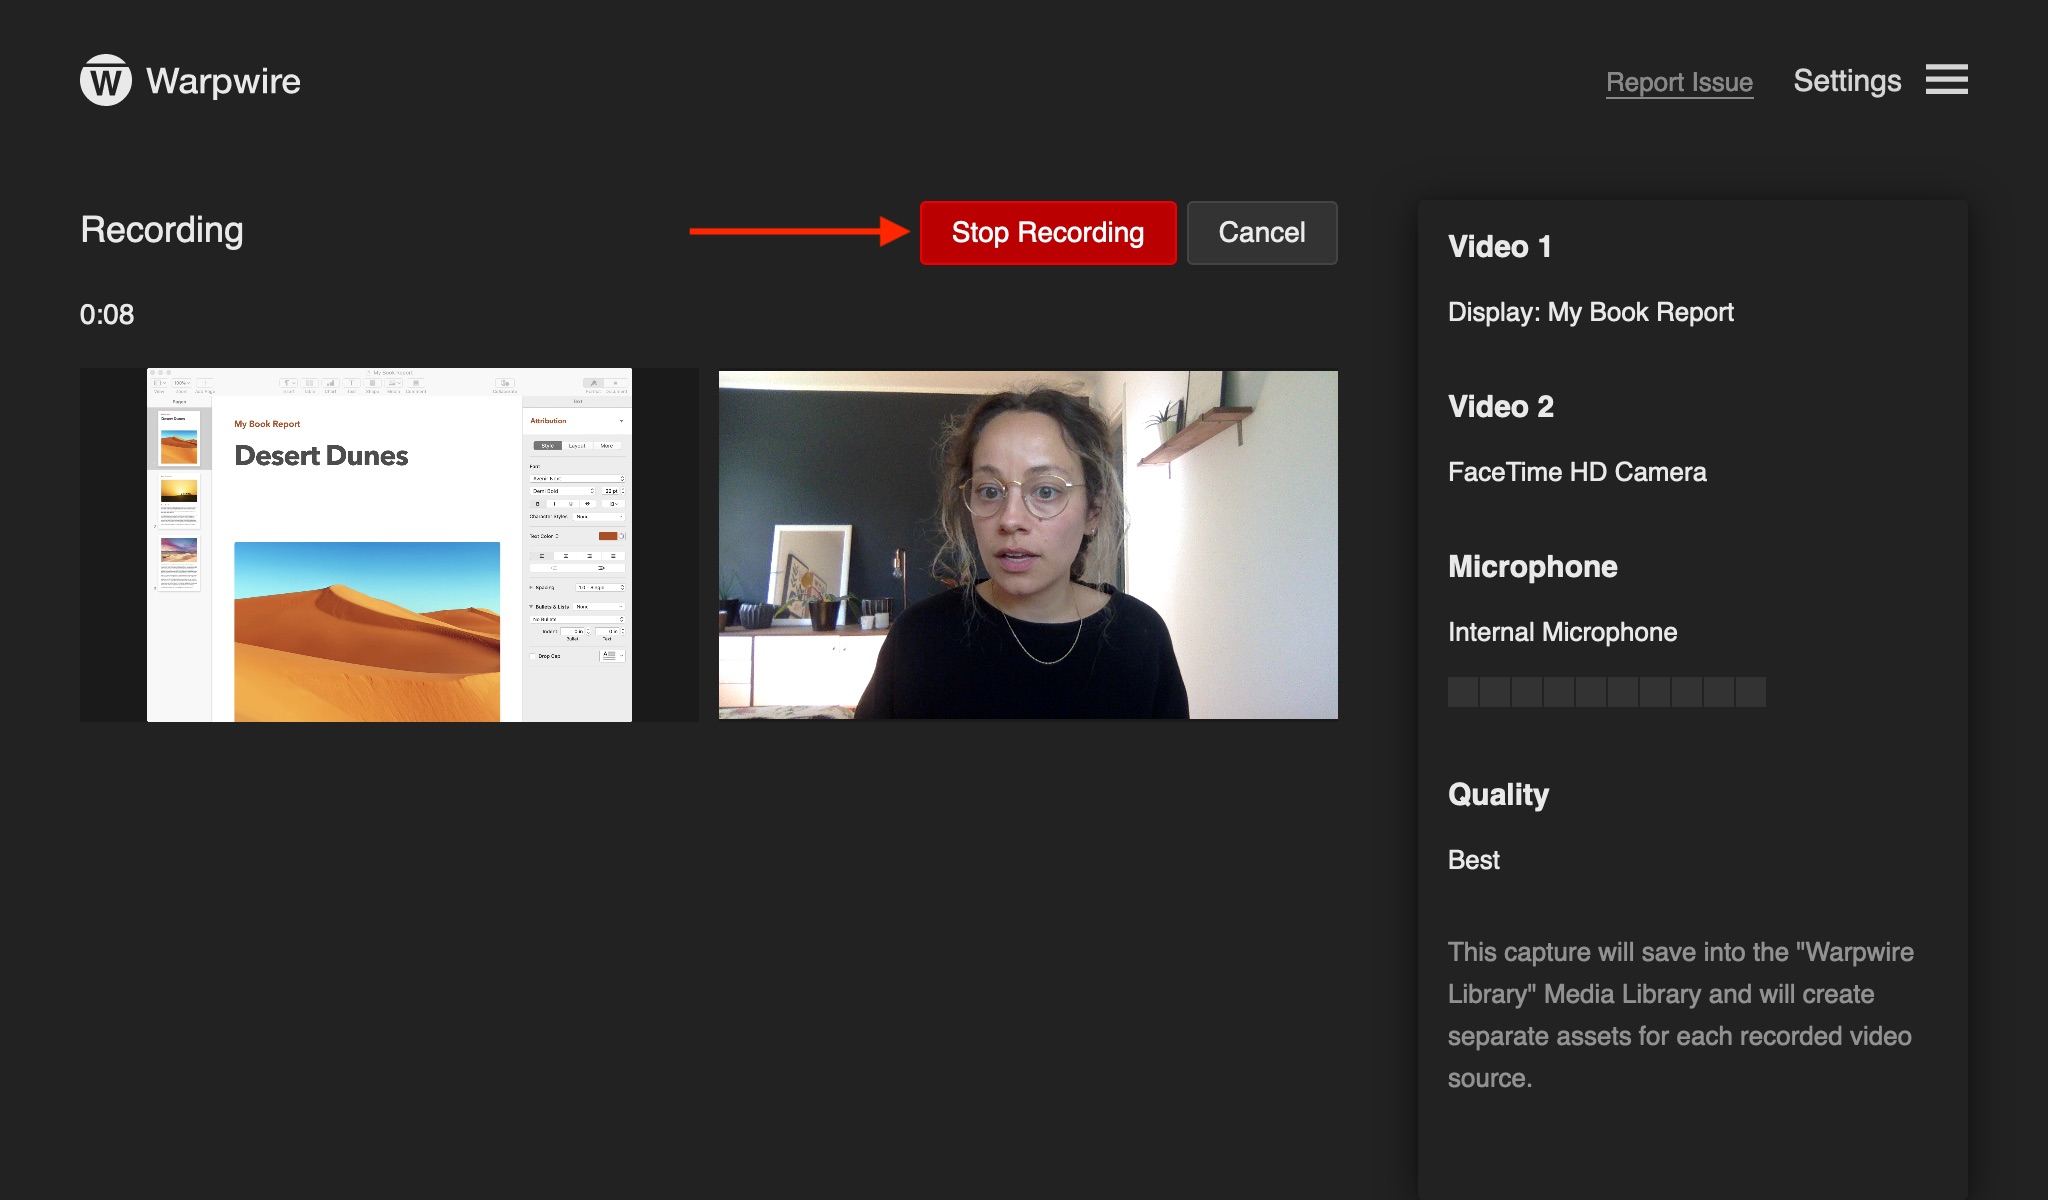
If you recorded more than one video source, an icon will appear on the top-left of the thumbnail and the media will play back with the Multi-Source Playback interfaces.
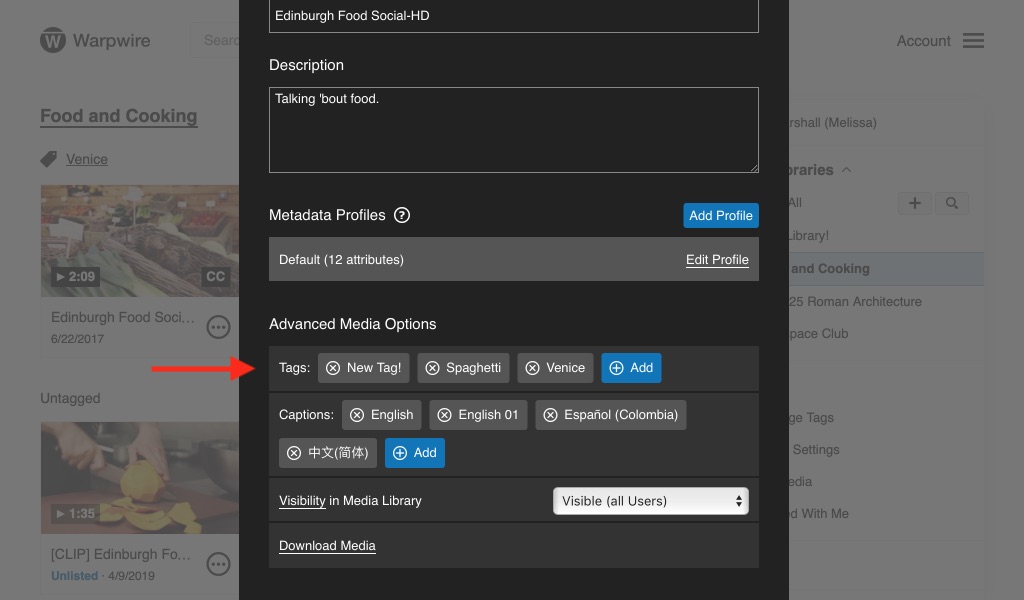
You can add as many tags as you like to any given asset to further organize your media. To add Tags to an asset, click the Media options ![]() button for that asset, and select "Settings."
button for that asset, and select "Settings."
From the Media Info page, click the Tags "Add" button to manage Tags for that asset.
You'll see a window that lists all existing Tags for your account.

Click on a Tag to add or remove it from the asset.
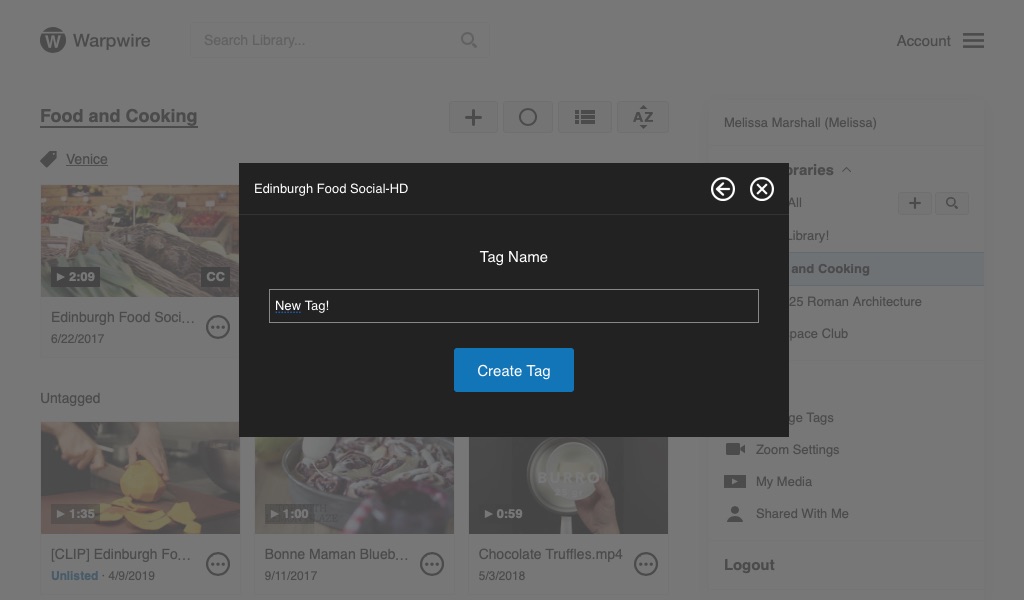
To create a new Tag, click "Create Tag" at the top of the Tags window. Type in the name of the new Tag, then click the "Create Tag" button.
Once created, your new Tag will appear in the Tag list, and will be green, indicating that the current asset is Tagged with the newly created Tag. Now you can sort the Media Library by Tags, or share a Tagged Media Playlist with users. Learn more about all the tagging options in Warpwire.
You can share Media Libraries and single media assets with the public, your whole institution, particular users and groups, or privately. To get started, navigate to the Sharing options window by clicking the Media options ![]() button for the asset you want to share, and select "Share."
button for the asset you want to share, and select "Share."
From this window you can specify who you want to share with. Select the sharing option from the drop-down menu. If you’re sharing with particular Users and/or Groups, use the search box to find Users and Groups within your institution.
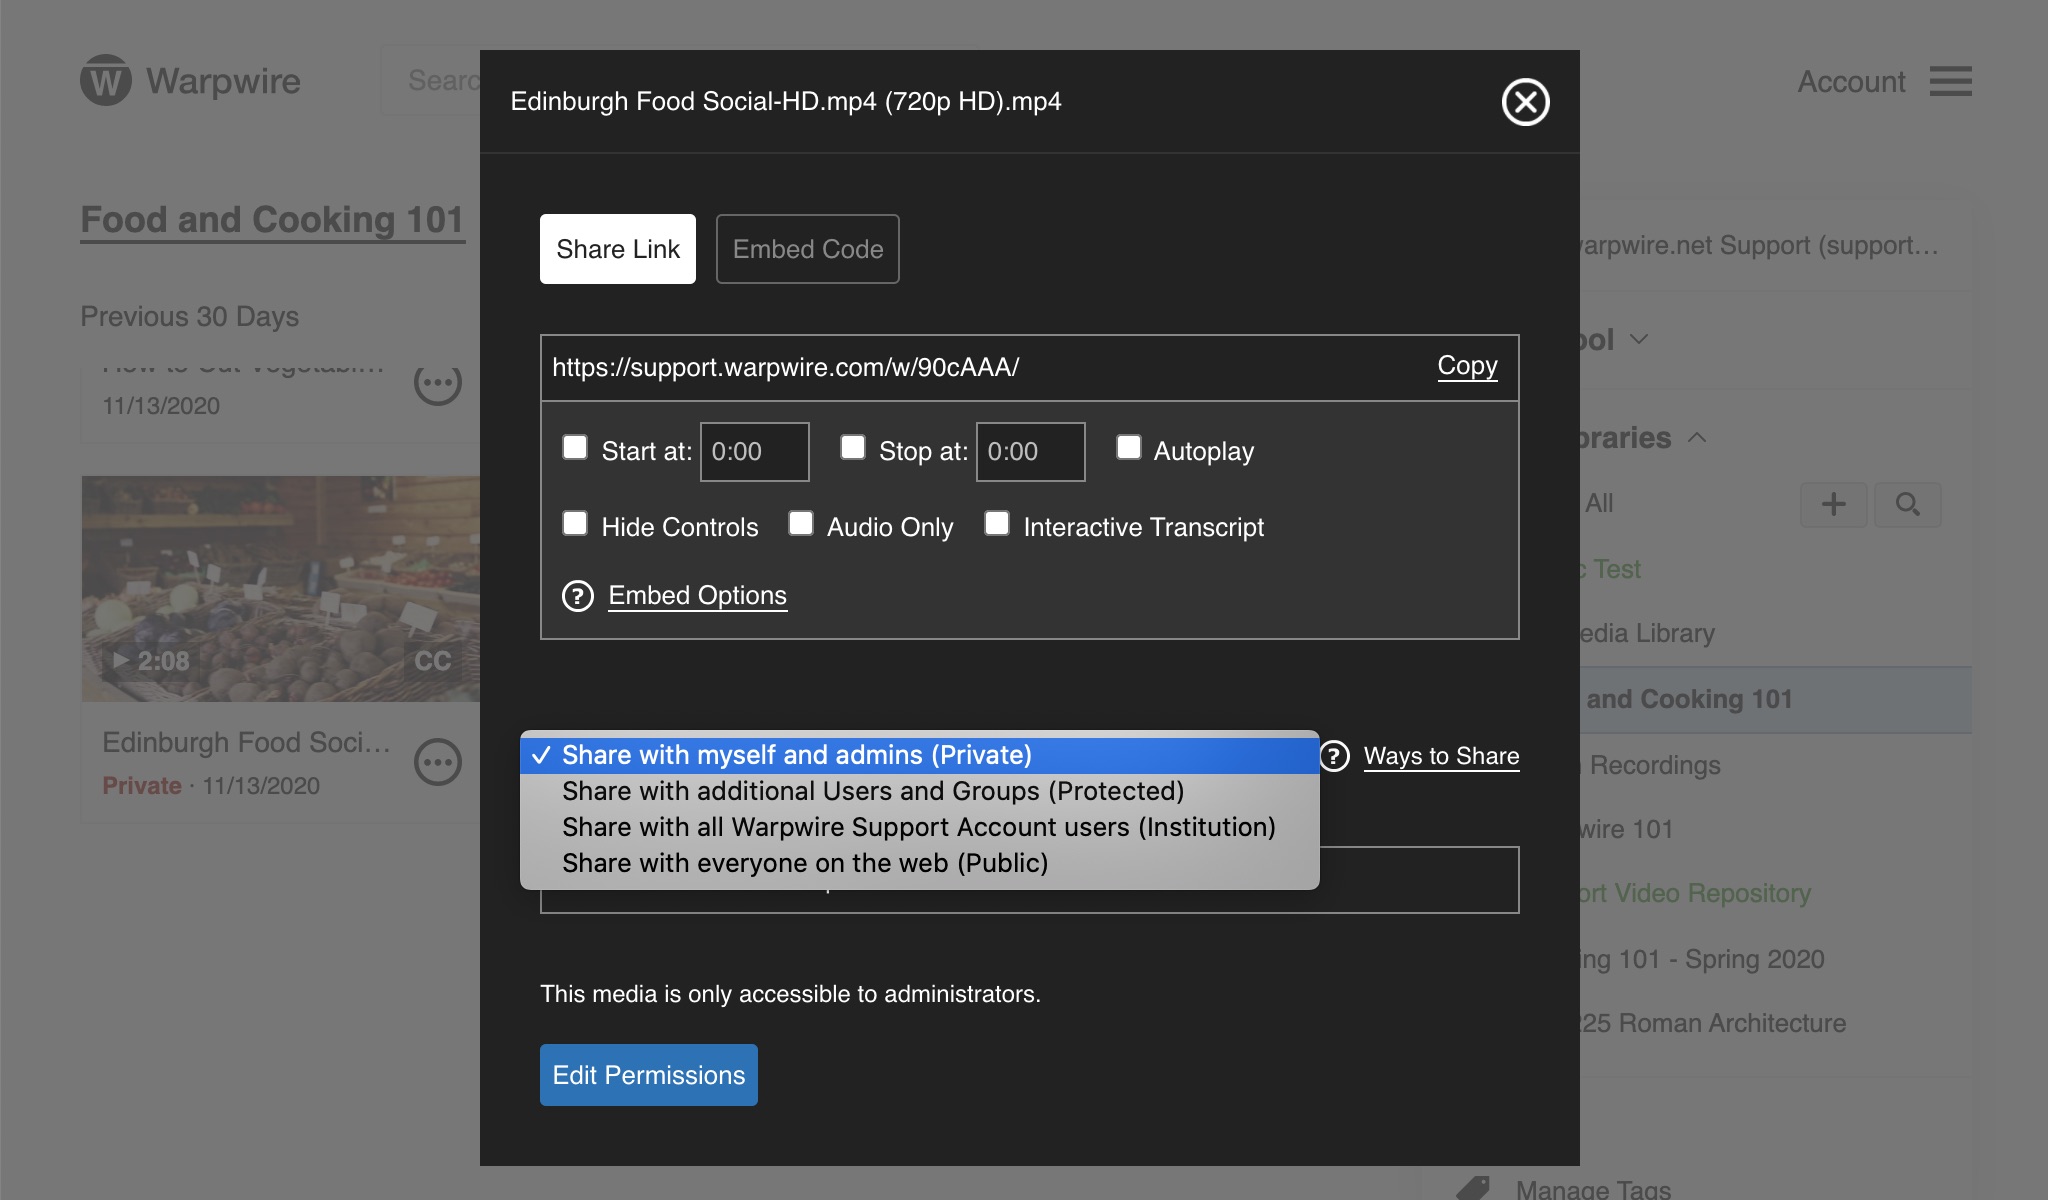
Click on the User(s) and/or Group(s) with whom you'd like to share your media asset. Once the name turns green, the sharing is complete. Now this asset or Media Library will be visible to those you’ve shared it with. You can learn more about sharing and permissions in Warpwire.
